The Expanding Frontier

Creating Sci-fi RPG Resources

  • Home
  • Order Eclipse Glasses
  • Order a Map
  • Order Miniatures
  • Supporters
  • About
  • Bio

Tag Archives: Theseus

Second Battle of Theseus – FY62.039

A sathar light cruiser, detected three days ago by a pair of patrolling militia assault scouts, was engaged today by the full force of the Minotaur militia after a long, high-g boost to intercept the alien vessel. A thirty minute battle ended with the complete destruction of the sathar ship while only one of the militia assault scouts sustained some minor hull damage.

An anonymous source has confirmed that Spacefleet has assets in systems beyond Theseus that alerted the militia to the possibility of the sathar vessel arriving in system. Our thanks go out to those brave souls risking their lives to watch the sathar movements.

Victoria Sorensen, StarPlay News

Background

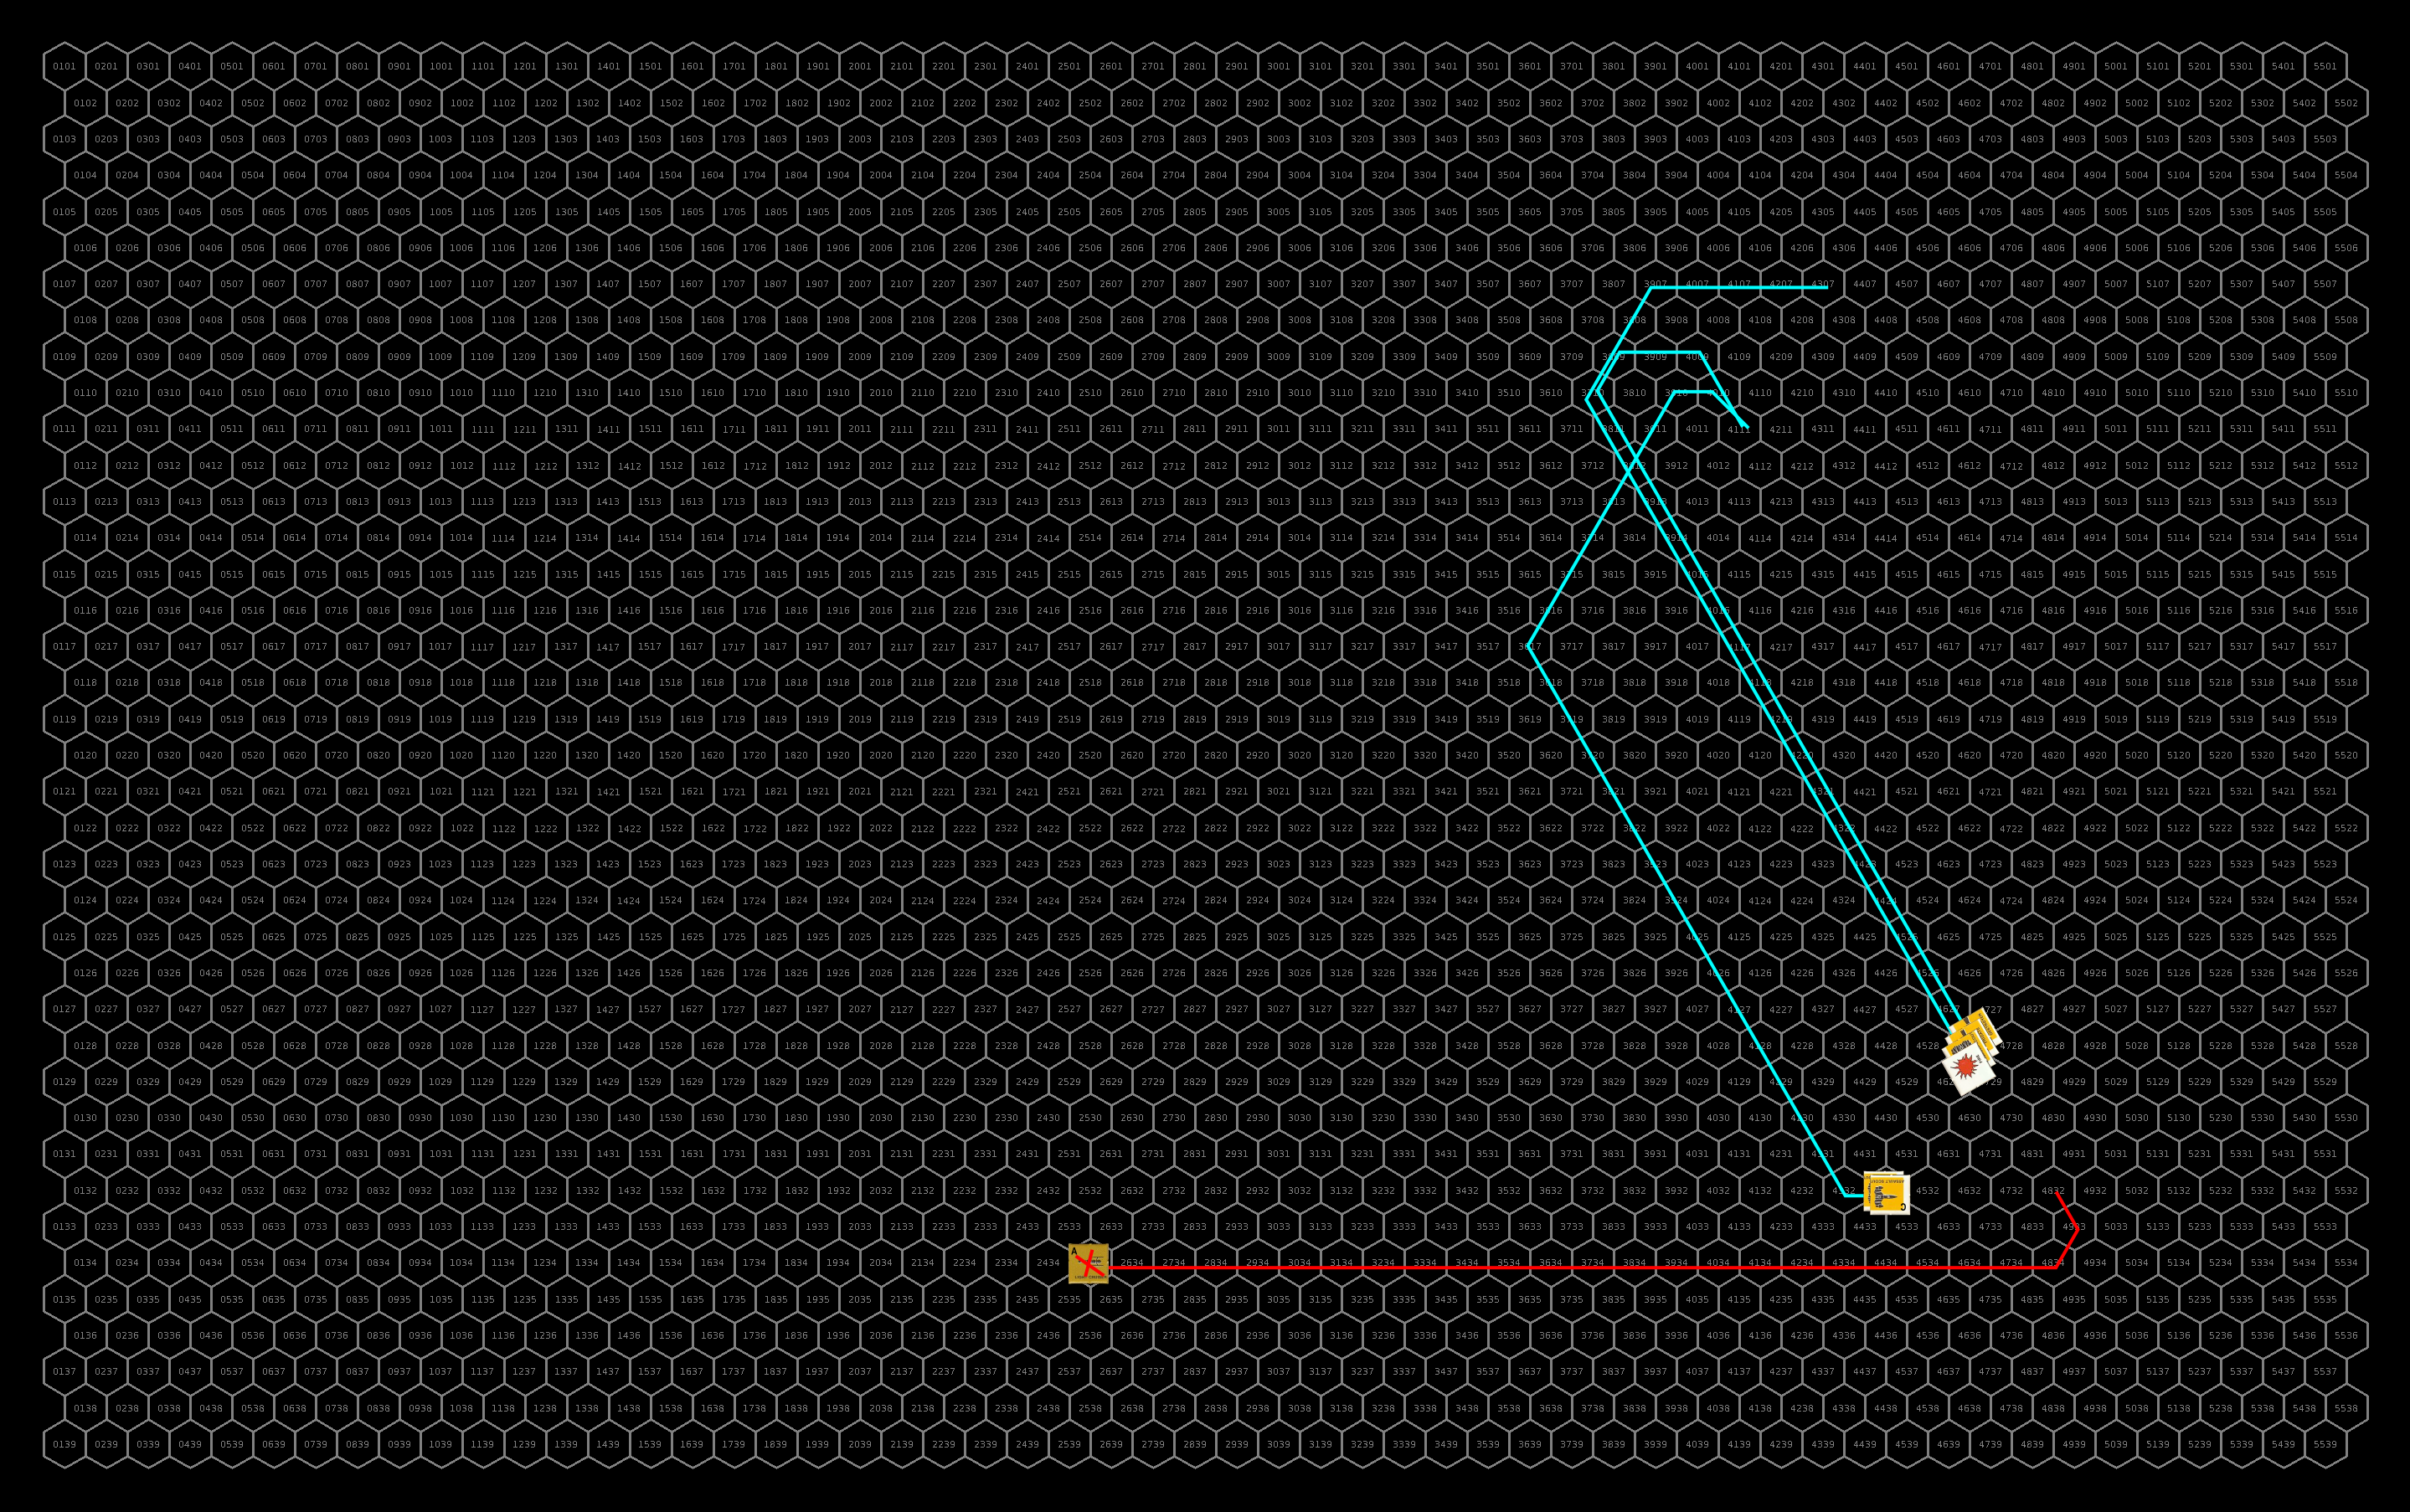
After the failed attempt by the frigate to chart the course into the Theseus system, the sathar dispatch a light cruiser (the remains of SBF-J2) to attempt to complete the route.  Detected after three days of deceleration by two patrolling militia assault scouts, the light cruiser attempts to evade and jump out of the system before it can be attacked.

Unsure of their ability to take on the light cruiser by themselves, the two militia assault scouts report in and begin to trail the light cruiser while the rest of the militia ships begin a high-g boost in an attempt to intercept the light cruiser before it can jump out of the system.  After three days of grueling pursuit, the militia ships overtake the light cruiser and engage.

Order of Battle

Minotaur Militia

  • 4 Assault Scouts
  • 1 Frigate
  • 1 Destroyer

Sathar

  • 1 light cruiser

The Battle

Setup

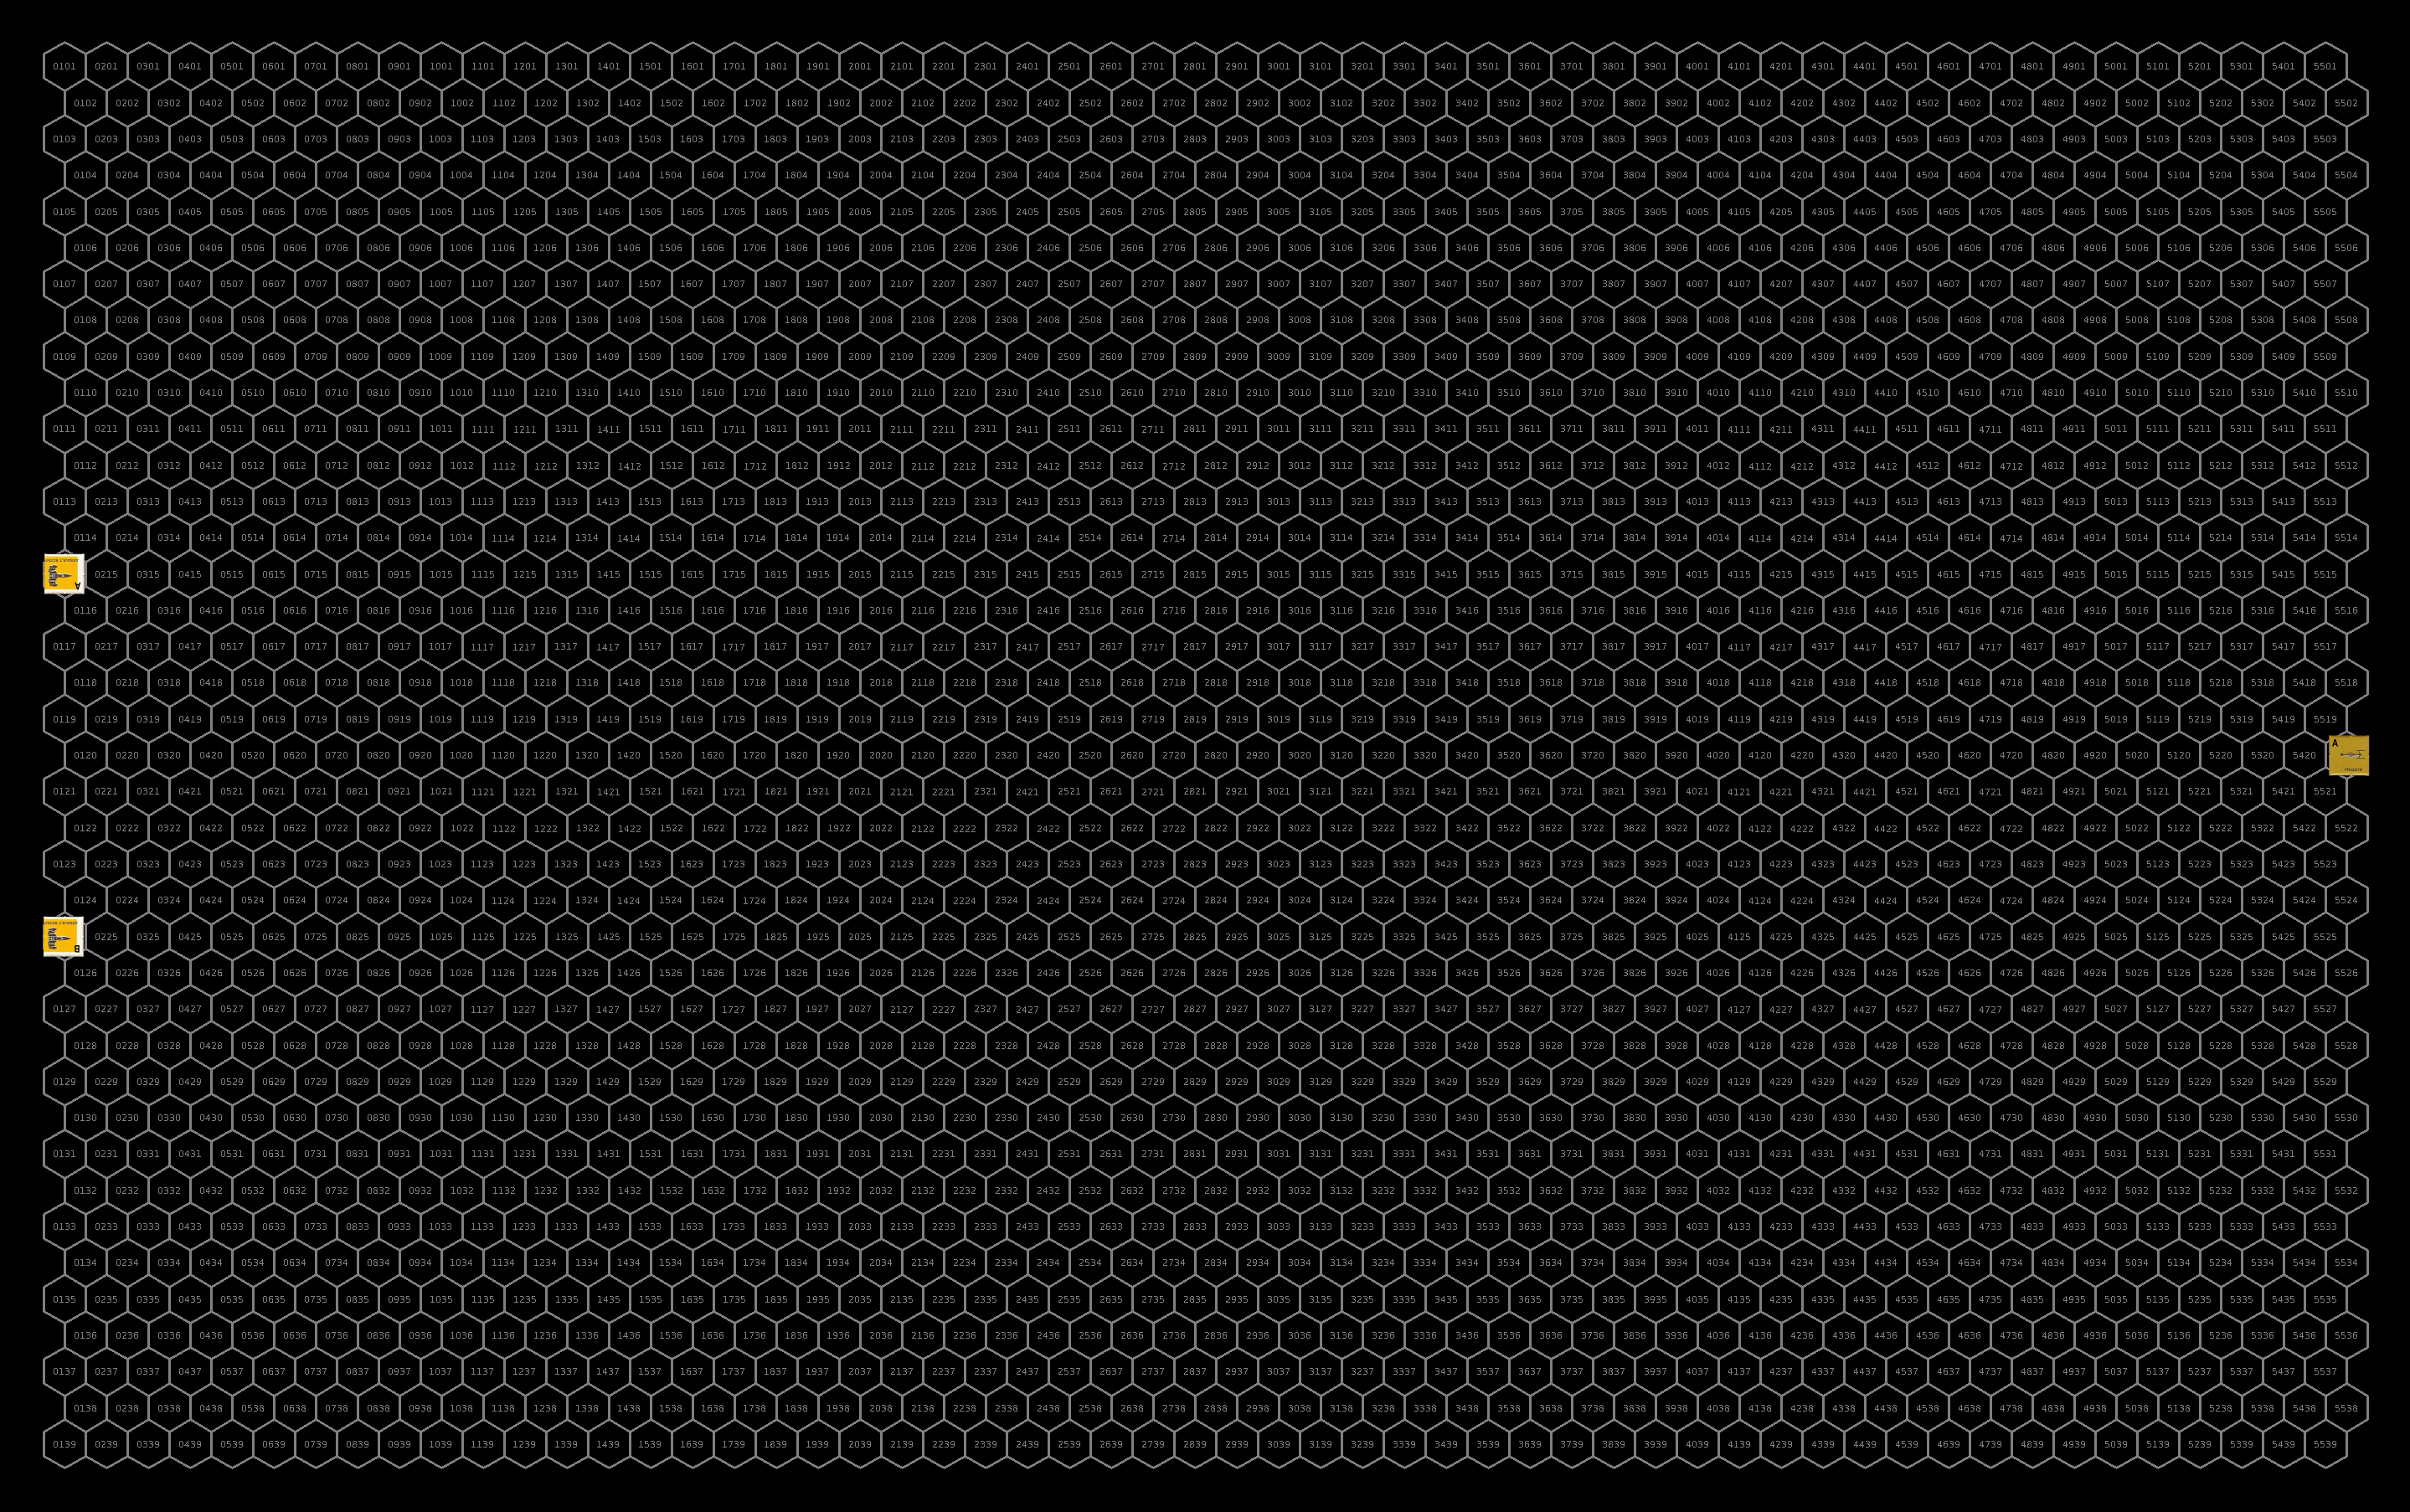
The militia are the attackers in this fight and will move first.  The militia deploy in three groups: the destroyer and frigate together in the middle to take the light cruiser on directly while the assault scouts deploy into two pairs on the wings to make strafing attacks with their assault rockets.  They start a speed 20.

Out gunned, the light cruiser plans to focus on the smaller faster ships in an attempt to disable the militia ships enough to escape.  The light cruiser also starts at speed 20.

Initial setup for this battle. Click for full sized image.

Turn 1

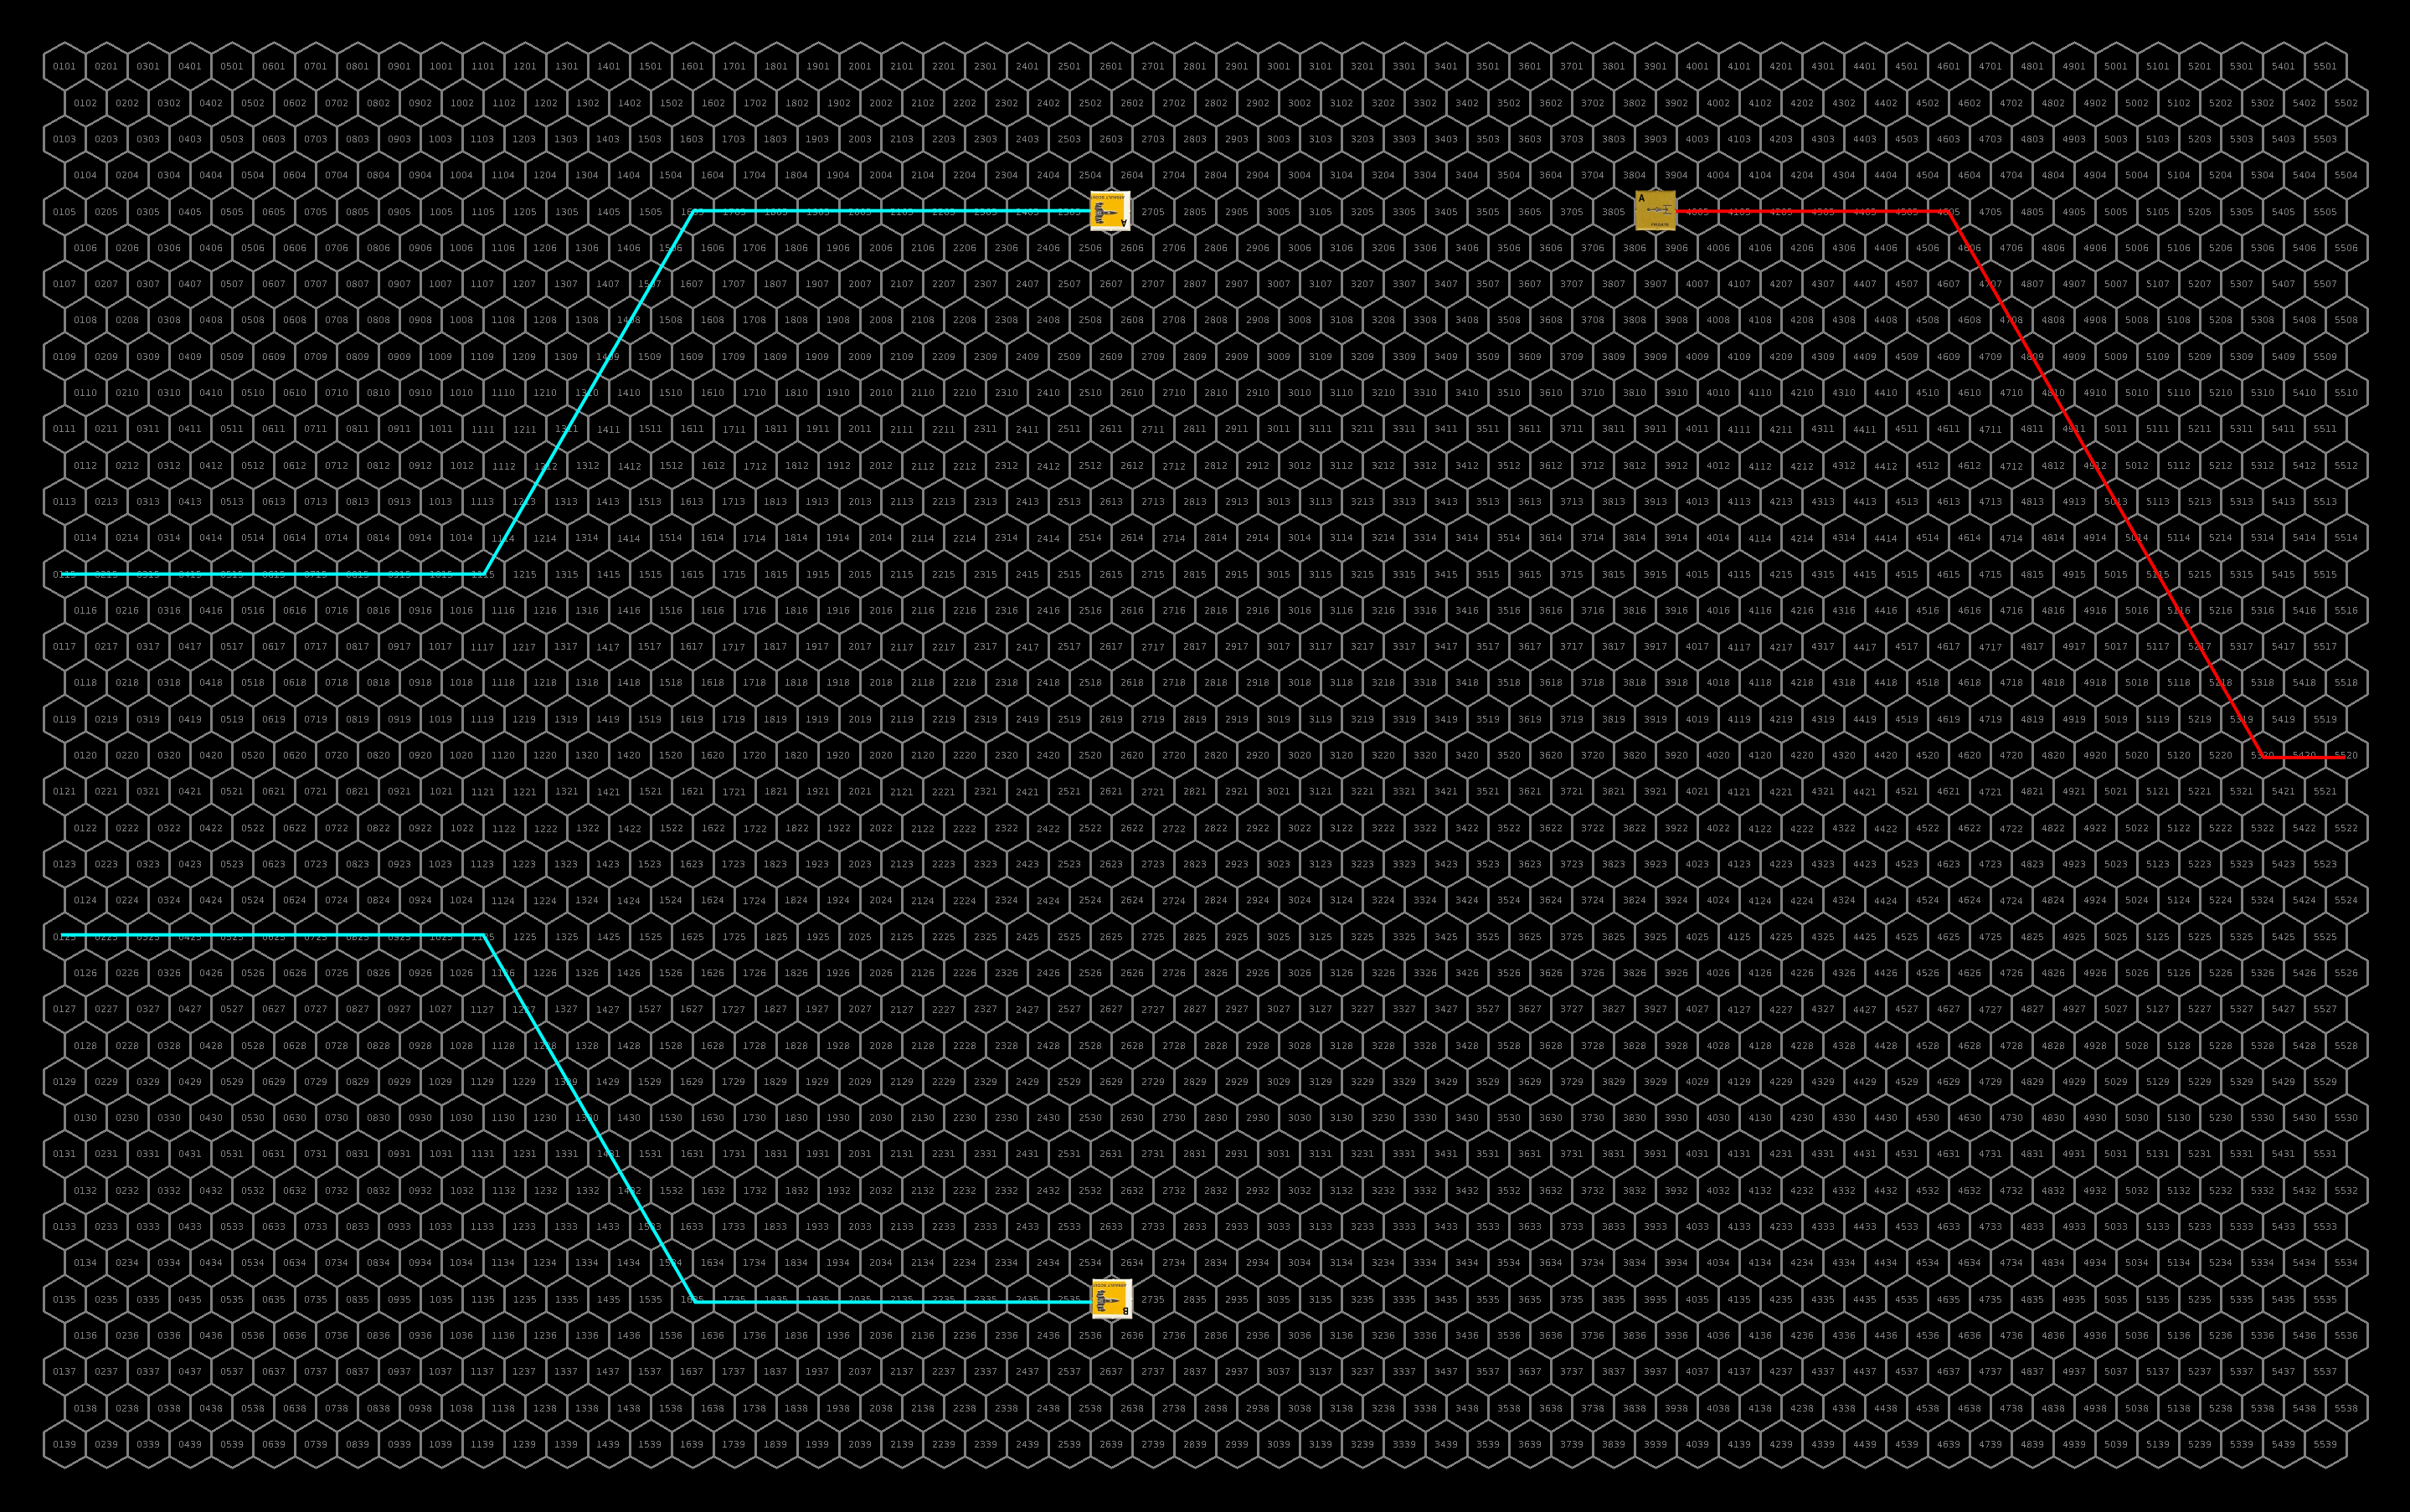
The assault scouts accelerate to speed 25 while the destroyer accelerates to 23 and the frigate only accelerates to 22 allowing the destroyer to catch up to it.  The sathar light cruiser accelerates to speed 23 and veers to starboard to go after the upper flight of assault scouts.  All ships are out of range this round.
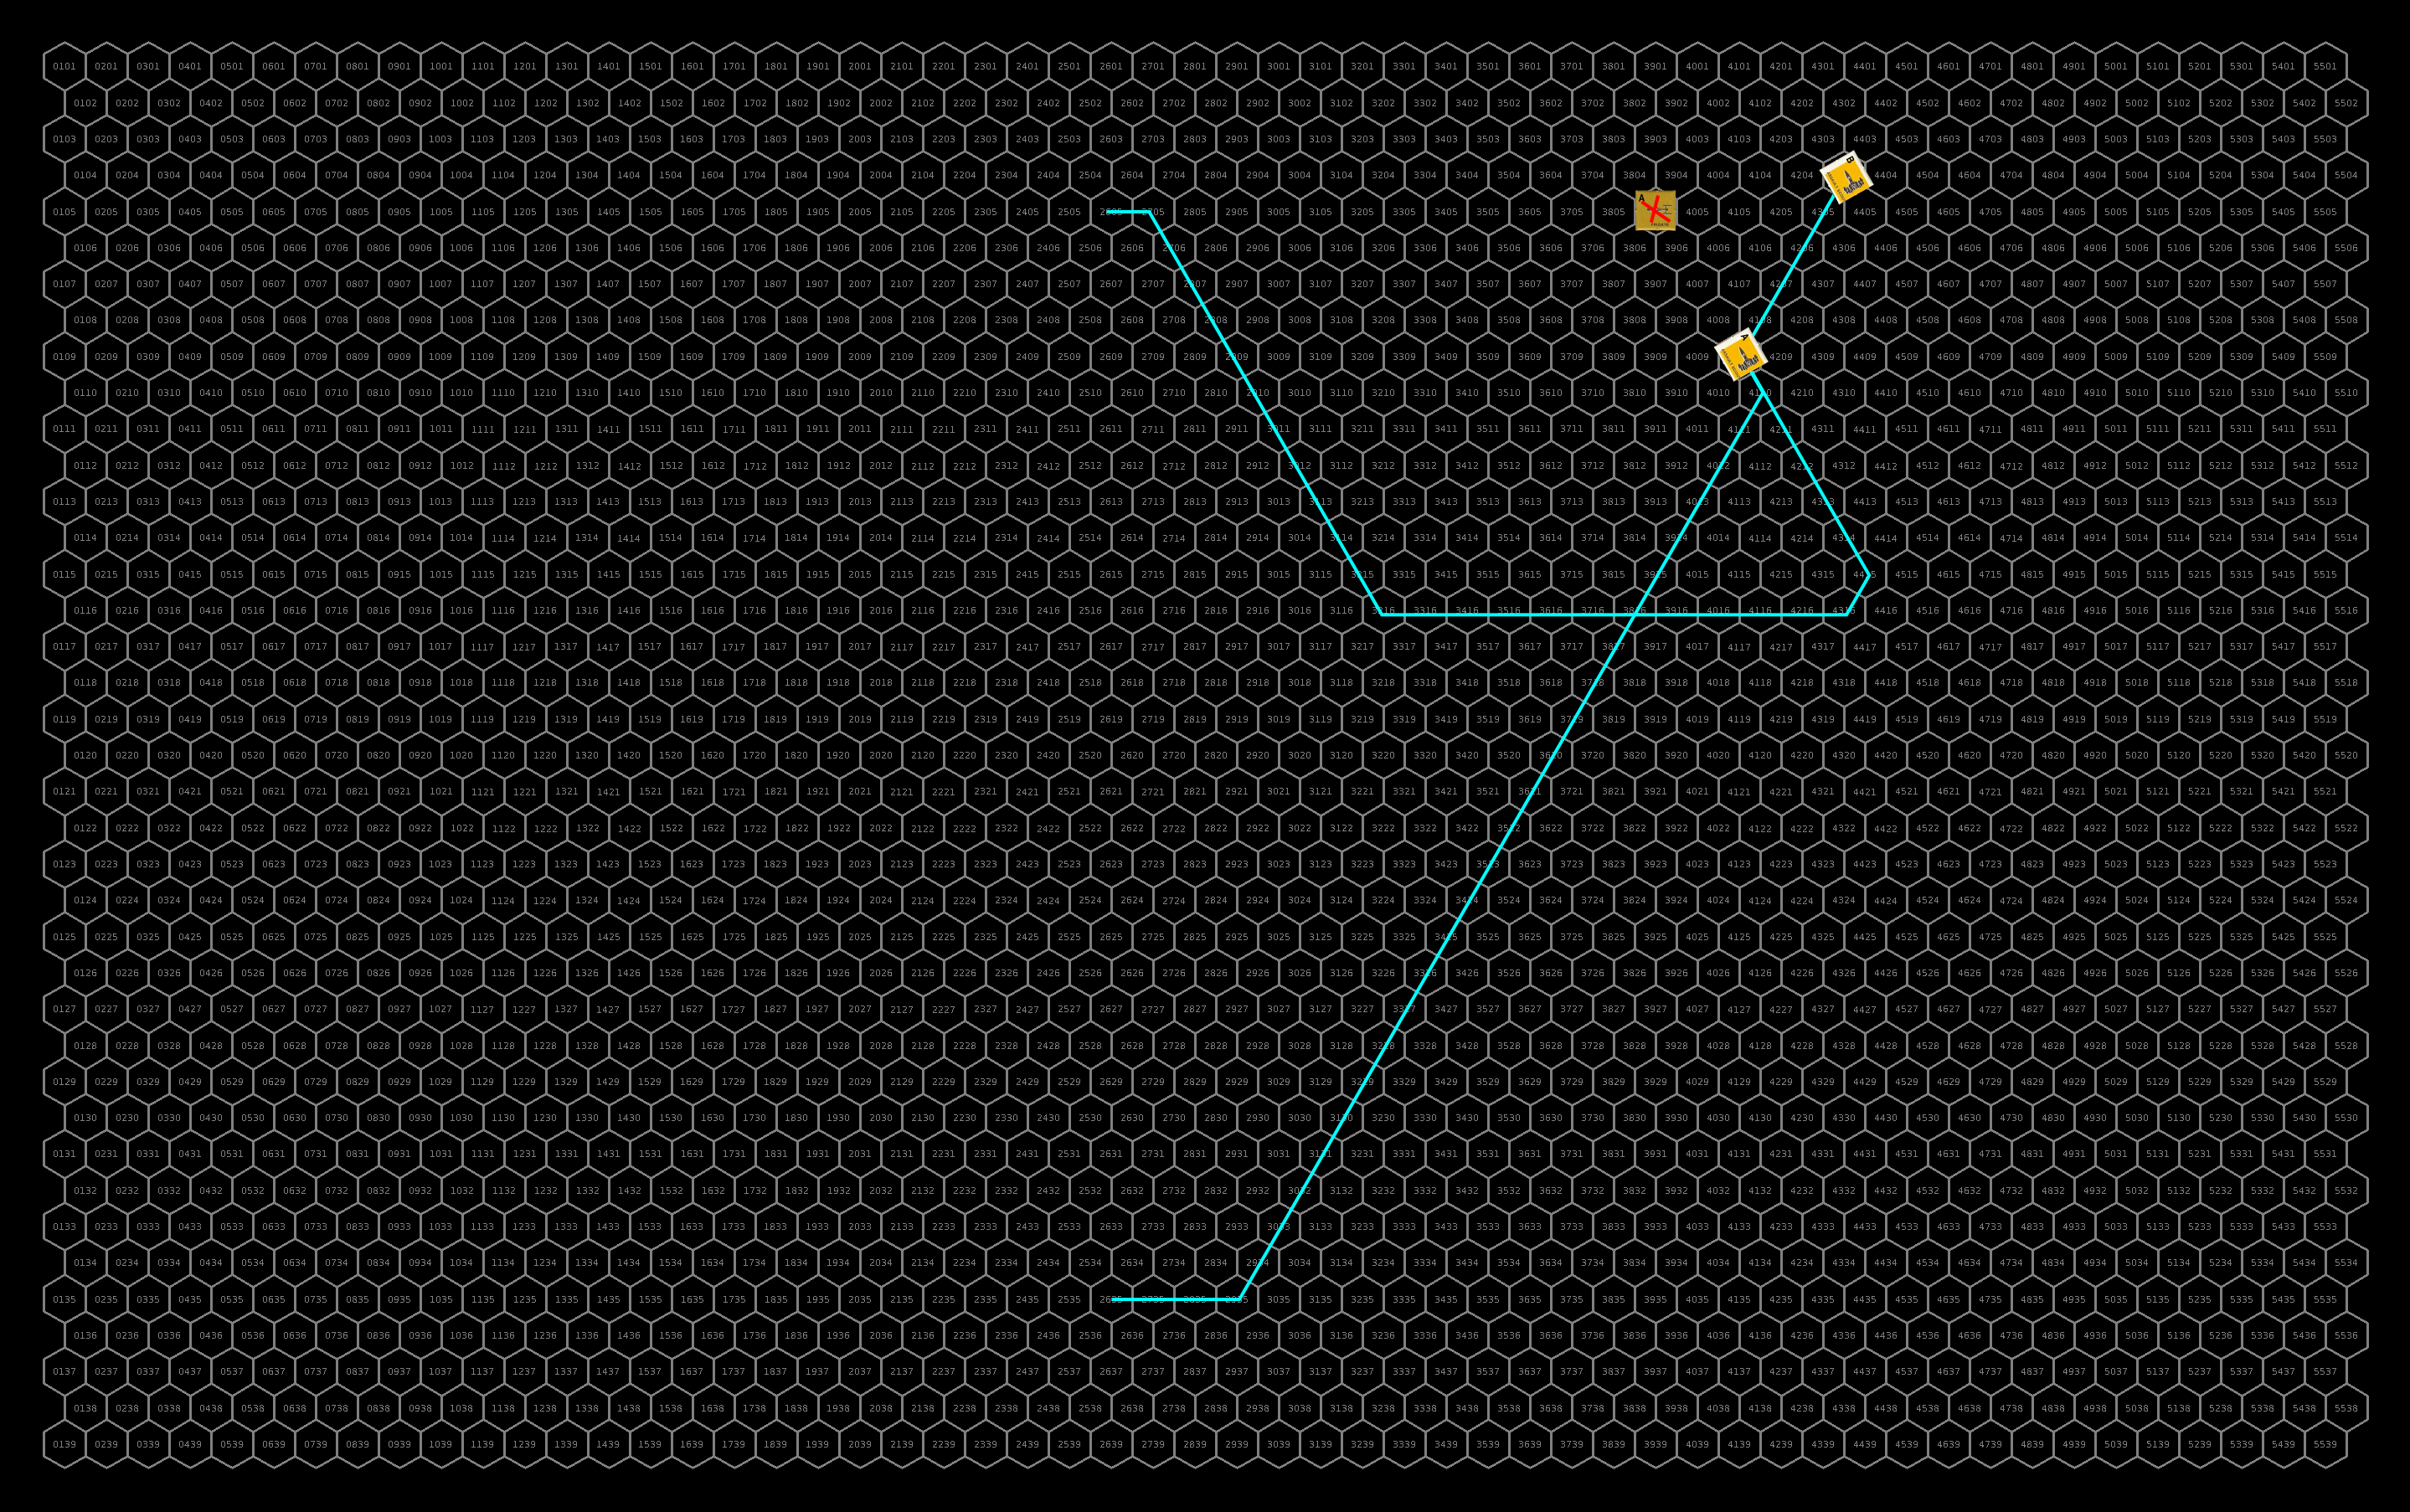
The ships start to close. Click for full size image

Turn 2

The militia ships continue to accelerate and close on the light cruiser from multiple directions with the assault scouts accelerating to a speed of 30 and the capital ships accelerating to a speed of 26.  The light cruiser fires all of its beam weapons at the lead assault scout in the upper group.  It only hits with the electron battery but induces a fire on the small ship.

The militia ships fire everything they have except their rocket batteries as they are out of range.  The light cruiser fires two ICMs at each of the incoming torpedoes both of which are intercepted by the ICMs.  The gunners on the destroyer are having a bad day with none of their weapons connecting.  The frigate scores hits with both its laser cannon and battery knocking out the cruiser’s proton battery and slightly damaging its hull (6%).  The four assault scouts only connect with one of their laser batteries damaging the cruiser’s hull (10%) but three of the assault rockets slam home knocking out 20% of the cruisers hull integrity, it’s electron battery, and a third of it’s engine capability.

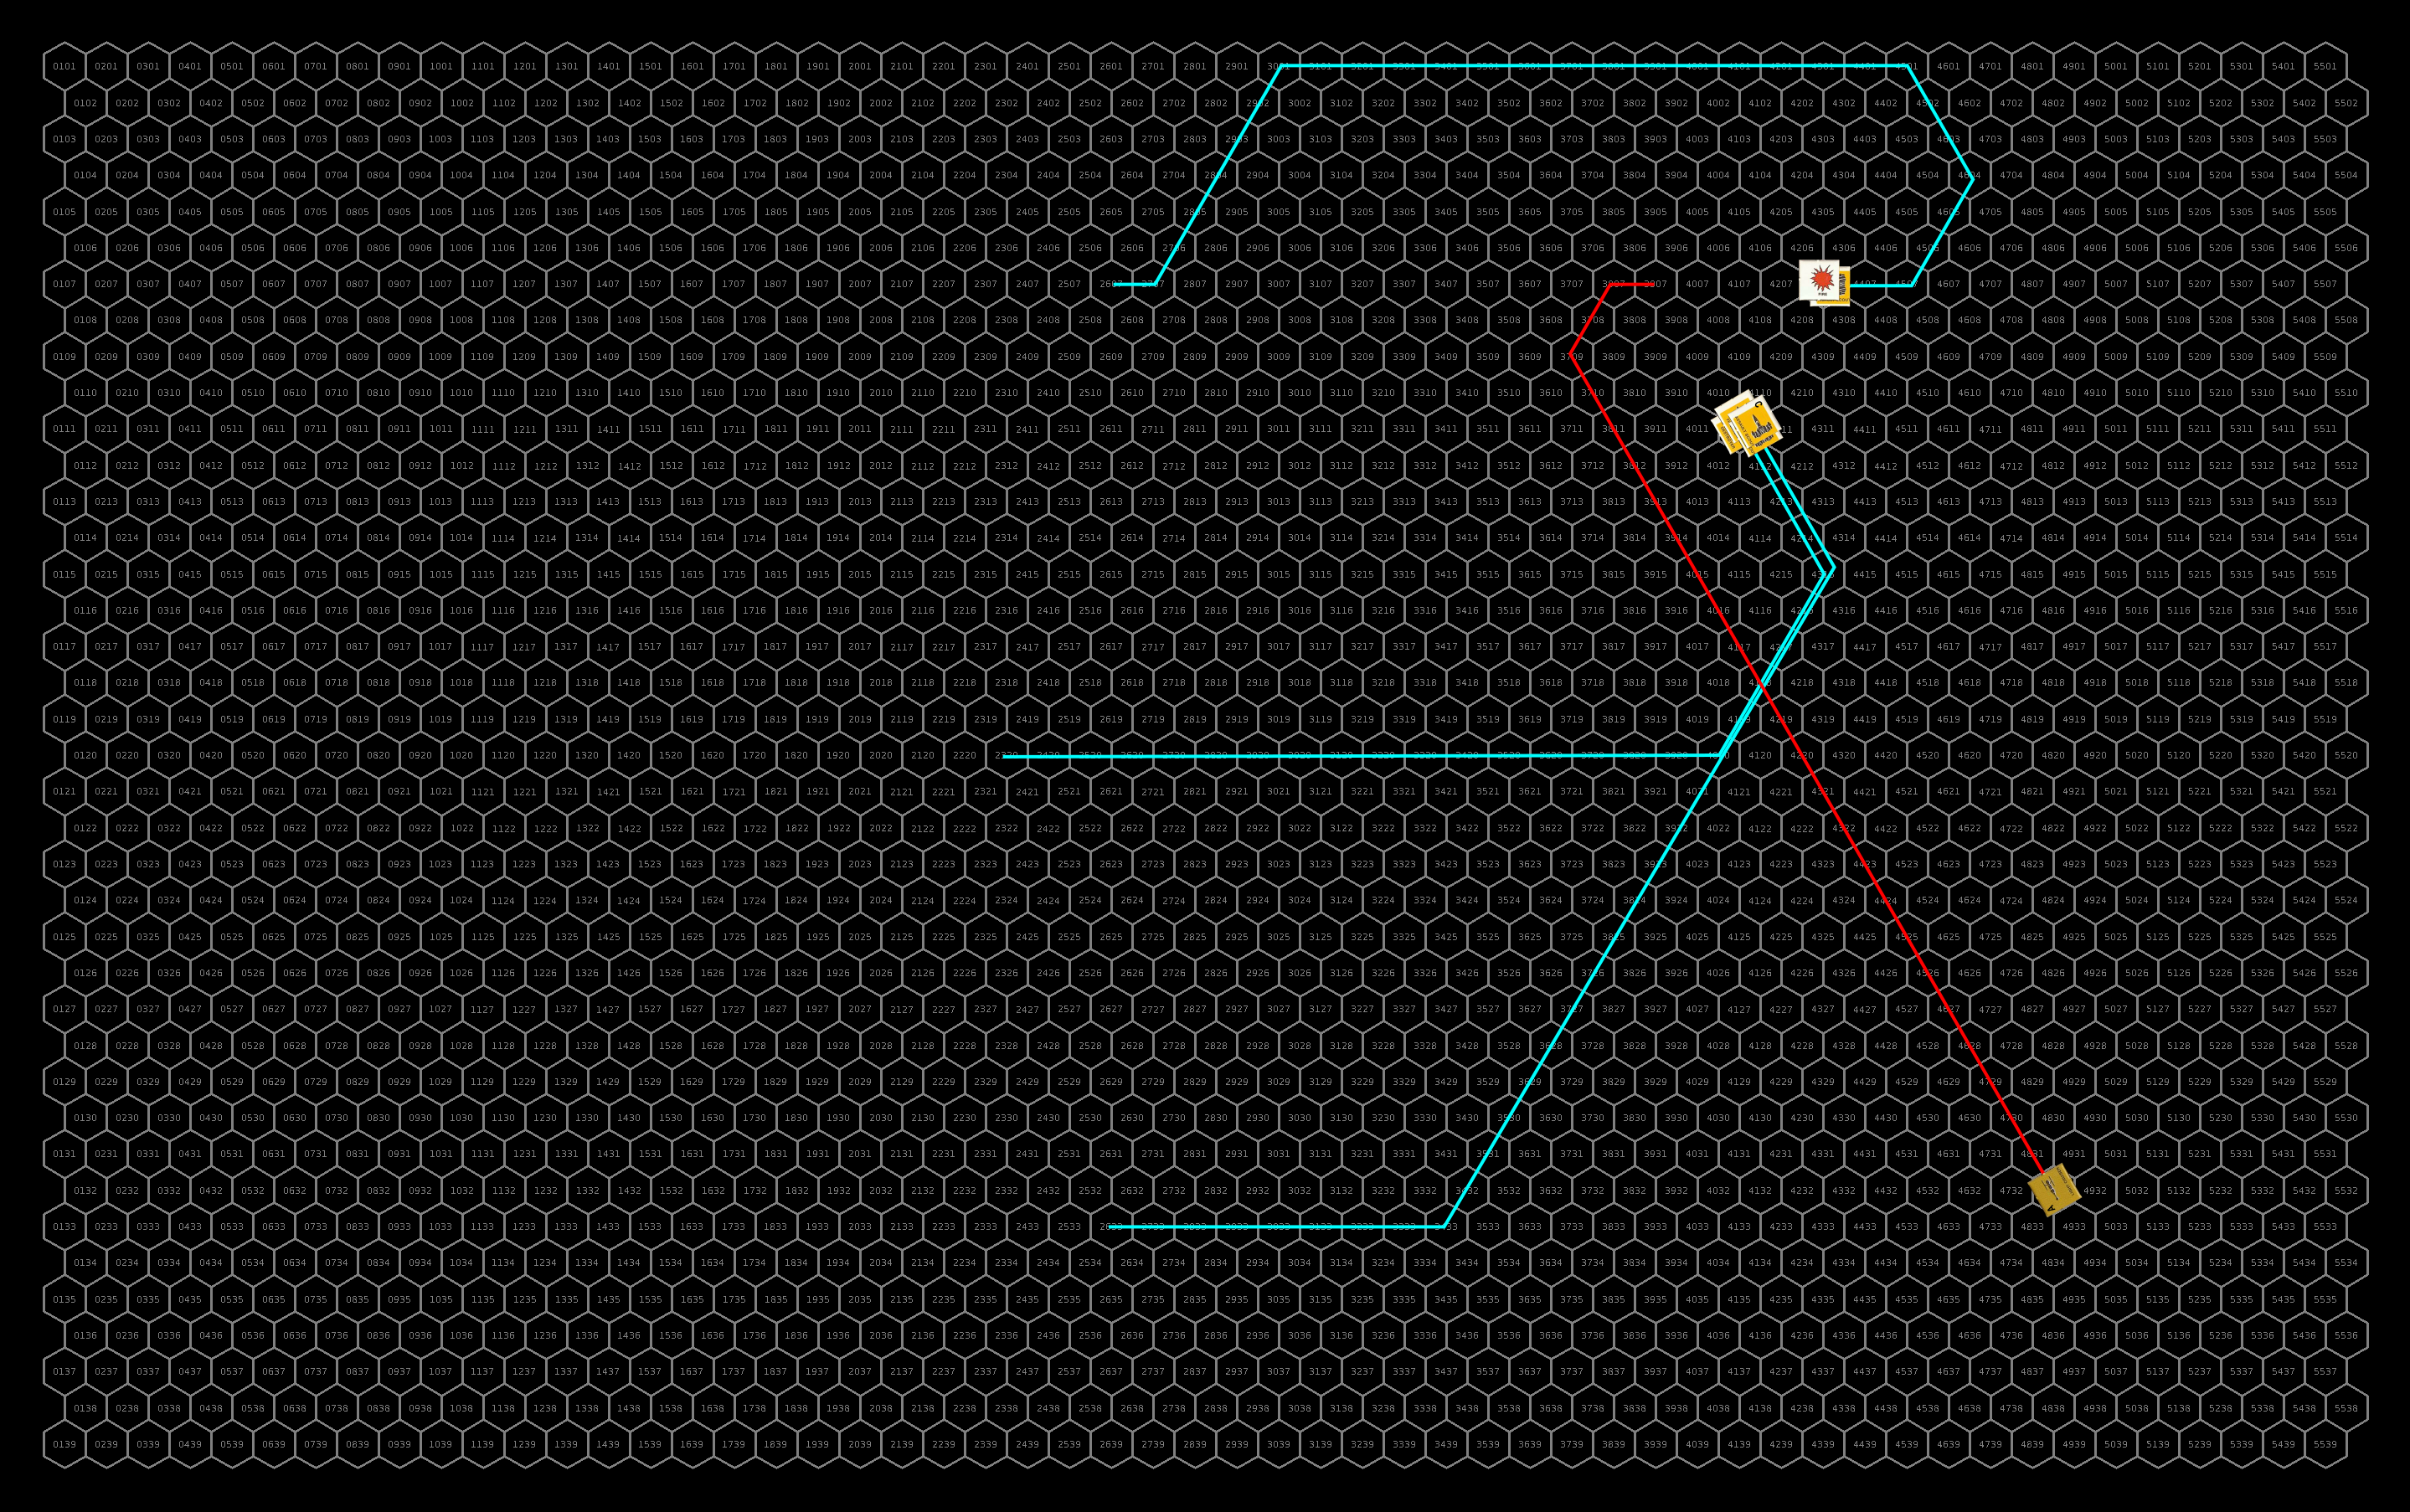
Unable to bring its disruptor cannon to bear, the sathar light cruiser pulls a turn to port, accelerates to a speed of 25, and fires broadside at the militia ships.  It fires a torpedo at the frigate, a rocket battery at one assault scout, and its laser battery at the other assault scout.  Defensively, the militia ships fire their energy weapons again with the destroyer and frigate also firing rocket batteries at the cruiser. 

Both militia rocket batteries connect damaging the hull (22%) and its combat controls systems.  The frigate hits with its laser cannon knocking out the cruiser’s disruptor cannon while the destroyer with its two batteries, damaging the hull (10%) and knocking out the electron screen. The assault scouts connect with two of their laser batteries taking out the torpedo launcher and scratching the hull (1 HP).  The cruiser misses with all of its weapons.

First shots exchanged. Click for full sized image.

Turn 3

The militia ships continue to pursue the carrier with the capital ships slowing to speed 23 and the assault scouts slowing to speed 25.  They continue to stay outside of rocket battery range which limits the heavily damaged cruiser to just its laser battery.  The fire on the assault scout knocks out its laser battery.  The cruiser fires at the scout with the fire hitting it but only slightly damaging the hull (1 HP). 

Once again the militia ships fire all their energy weapons and the scouts fire their assault rockets.  Given the damaged state of the cruiser, the capital ships elect not to fire torpedoes.  With no torpedoes incoming, the cruiser elects to fire an ICM at each of the assault rockets but it doesn’t make any difference as three of the AR impact the cruiser while one goes off course.  The militia ships also hit with one laser cannon and two laser batteries.  The assault rockets take out the cruisers stasis screen and ICM launcher while the laser cannon takes out the laser batteries take out 13% of the cruises hull (leaving it with only 4% hull integrity and damage its navigation control system.

The navigation control damage causes the cruiser to pull to starboard.  Amazingly, the heavily damaged cruiser holds together through the turn but is then obliterated by the laser fire from the militia ships before it has a chance to get a shot off.

Final positions when the sathar light cruiser is destroyed. Click for full size image.

Final repairs

The scout manages to get the fire out immediately but its hull damage will require a day in the shipyard to repair.

Lessons Learned

The sathar cruiser really didn’t have a chance in this one against the full militia roster.  Its only real hope was to get lucky and damage the engines on several of the ships to allow it to even the odds a bit and get away but that didn’t happen.  Unfortunately, it was detected in the system while it was still decelerating to jump back out which greatly increased the chance that the militia, with their faster ships, could catch it. Had it been detected outbound, it would have either gotten away or, if the militia decided to press their luck, only had to engage to the two assault scouts.

July 2, 2022 Tom 1 Comment

Battle of Theseus – FY61.346

A lone sathar frigate, detected three days ago shortly after it entered the system was engaged today by two militia assault scouts. While one of the assault scouts was heavily damaged in the encounter, the militia ships eliminated the enemy vessel in a single assault run.

Speculation rages as to the origin of the sathar vessel. There are unconfirmed reports that Spacefleet has established routes outward from Theseus toward the Great Void. Could it be that the sathar are coming in along those routes?

Victoria Sorensen, StarPlay News

Background

A lone sathar frigate jumped into the Theseus system as part of an effort by the sathar to chart a route to the Frontier from the Liberty system.  Due to an alert that the ship was headed in that general direction from the forces of PG Liberty, the Minotaur militia was on alert and patrolling the system.  The frigate was detected by two of the militia assault scouts and they vectored to intercept.  Unable to jump out of the system before being caught, the frigate turns to fight the oncoming militia ships.  This battle occurs in deep space.

Order of Battle

Minotaur Militia

  • 2 Assault Scouts

Sathar

  • 1 Frigate

The Battle

Setup

The opposing forces enter from opposite sides of the map.  The militia are moving at speed 30 while the sathar frigate is moving at speed 20.  The militia are the attackers in this scenario and will move first.  The sathar are not necessarily trying to destroy the militia ships but rather escape the battle.

Initial positions of this fight. Click for full size image.

Turn 1

The two forces close with each other but no shots are fired.  The militia ships swing wide to flank the sathar and maintain their speed.  The sathar frigate changes course to go after the upper assault scout and uses its maximum acceleration but remains just out of laser canon range.

Initial closing movement. Click for full size image.

Turn2

The closer assault scout turns to avoid flying into range of the frigates laser cannon and loops around, remaining at speed 30 and ends in a position to fire its assault rocket at the frigate.  The farther assault scout accelerates to speed 34 and makes a pass at the frigate firing its assault rocket from the same position where the other assault scout ends its movement but flits out of torpedo range to end its move.

The frigate focuses its fire at the closer assault scout while firing all of its ICMs at the incoming assault rocket from that ship.  The laser battery hits for 8 HP of damage.  The ICMs are ineffective and both assault rockets slam into the sathar frigate.  The laser battery from the second assault scout also hits the sathar vessel. The combined damage from both ships obliterates the sathar frigate and that quickly the fight is over.

Final positions when sathar frigate is destroyed. Click for full size image.

Repairs

Unable to repair the hull damage, the wounded assault scout heads carefully back to Minotuar where it will enter the starship construction center for repairs.

Lessons Learned

The sathar should have matched the militia ships’ speed. Or at least started at speed 25. If it had, it could have brought at least its laser canon and laser battery to bear on the lone assault scout on turn 1 and possible even its rocket weapons (if it had started at speed 30). That would have significantly changed the outcome of the fight as it would have had another salvo at the militia and could have possibly eliminated one of the ships right away.

Once again this went faster than I expected. The damage rolls for the attacks were 18 and 20 HP for the assault rockets and 10 HP for the laser battery.  While I rolled well for the damage effects (all of the hits did hull damage which I wasn’t suspecting), I actually rolled really low on damage for the assault rockets as both of those were double damage rolls!  They should have done more on the order of 30 HP each.  But it was still enough.

The sathar have part of the route to the Frontier from Liberty mapped, but because of the misjump the frigate made, the route in not complete.

January 21, 2021 Tom Leave a comment
Become a Patron!

Recent Posts

  • Detailed Frontier Timeline – FY62.069 to FY62.99
  • State of the Frontier – August 2022
  • Battle of Hargut (Gruna Garu) – FY62.098
  • Archived Arcane Game Lore Posts – May 2013 to Dec 2014
  • A Look at Yachts and Privateers
  • Homeworld Bound – A Campaign Concept
  • Second Battle of Fromeltar (Terledrom) – FY62.083
  • Sample Star System Data
  • Detailed Frontier Timeline – FY62.038 to FY62.068
  • State of the Frontier – July 2022

Categories

  • 3D Models
  • Adventures
  • Background
  • Creatures/Races
  • Deck Plans
  • Equipment
  • Game Design
  • General
  • Locations
  • Maps
  • NPCs
  • Optional Rules
  • Patreon-only
  • Project Overviews
  • Reviews
  • Setting Material
  • Starships
  • System Brief
  • Vehicles
  • Writing

Recent Comments

  • Tom on Fighter Miniatures
  • Rlaybeast on Fighter Miniatures
  • Loguar on Detailed Frontier Timeline – FY62.069 to FY62.99
  • Loguar on Detailed Frontier Timeline – FY62.069 to FY62.99
  • Tom on Detailed Frontier Timeline – FY62.069 to FY62.99
  • Rook on Maps and Counters
  • Loguar on Detailed Frontier Timeline – FY62.069 to FY62.99
  • Tom on Detailed Frontier Timeline – FY62.069 to FY62.99
  • Tom on Second Battle of Fromeltar (Terledrom) – FY62.083
  • Loguar on Detailed Frontier Timeline – FY62.069 to FY62.99

Archives

  • September 2022 (1)
  • August 2022 (9)
  • July 2022 (3)
  • June 2022 (3)
  • May 2022 (3)
  • June 2021 (1)
  • April 2021 (1)
  • February 2021 (4)
  • January 2021 (6)
  • December 2020 (5)
  • November 2020 (11)
  • October 2020 (4)
  • September 2020 (5)
  • August 2020 (4)
  • July 2020 (6)
  • June 2020 (5)
  • May 2020 (8)
  • April 2020 (5)
  • March 2020 (5)
  • February 2020 (5)
  • January 2020 (5)
  • December 2019 (7)
  • November 2019 (4)
  • October 2019 (6)
  • September 2019 (5)
  • August 2019 (6)
  • July 2019 (7)
  • June 2019 (5)
  • May 2019 (6)
  • April 2019 (7)
  • March 2019 (4)
  • February 2019 (5)
  • January 2019 (7)
  • December 2018 (5)
  • November 2018 (10)
  • October 2018 (4)
  • September 2018 (4)
  • August 2018 (5)
  • July 2018 (4)
  • June 2018 (4)
  • May 2018 (12)
  • December 2015 (1)
  • November 2015 (2)
  • December 2014 (4)
  • November 2014 (3)
  • June 2014 (1)
  • January 2014 (1)
  • July 2013 (1)
  • June 2013 (2)
  • May 2013 (3)

Meta

  • Log in
  • Entries feed
  • Comments feed
  • WordPress.org
Powered by WordPress | theme Layout Builder