I thought I’d be done with this model and ready to post this last week, but the model ended up taking me about 50% longer than I had originally planned. And since I had guessed 10-12 hours, that was a significant time overrun. In the end, the model took about 17 hours to complete.
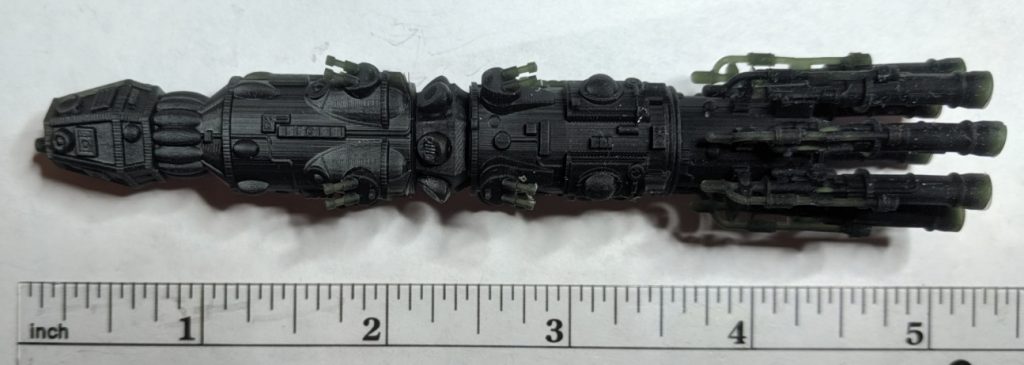
Let’s not bury the lede, here is the finished model, pictured to the right. With the engines, it stands 120.75mm (4.8″) tall (or long depending on how you look at it) and is a little less than an inch (23.7mm to be exact) in diameter at the widest point on the engines.
The extra time was spent in trying to get all the details just right. There are a lot of them on the battleship and it just took longer than I was expecting. However, I’m really happy with how it turned out. Let’s look a bit at the process.
Getting Started
This is a miniature that was part of the Federation Ships boxed produced by TSR. On the box, it said that there was “some assembly required” for the battleship miniature. This model comes in 10 different pieces. The eight engines are each separate and the main fuselage comes in two parts. Now, I picked up my miniature box(es, I have four now, only 2 of which didn’t have lead rot when I bought them) used on E-bay in the last few years. As such the previous owners had already glued the fuselage together in three of the boxes but hadn’t attached the engines. So this is what I had to start with.
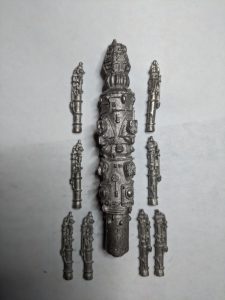
Now, as I discovered while working on the Light Cruiser, those are the exact same engines on both miniatures, so I had already done the work to create them. I just had to make 8 copies for the battleship.
There were also a number of repeated elements on this ship, namely the three main levels of gun turrets, the structure around the waist of the ship, and the “grill” around the neck.
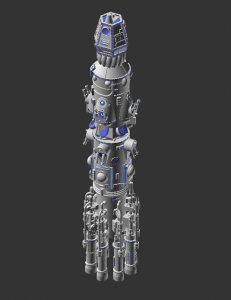
That’s what I tackled first. For the gun turrets, I created a model of each of the structures and then just placed four of each of them, ninety degrees apart, around the fuselage. For the structure around the waist, it was repeated six times, and the grill around the neck has thirteen bumps. That piece ended up being just a stretched and squished sphere rotated around the neck. Getting those pieces in place was the “easy” part and only took about five hours to do giving me a model that looked like this.
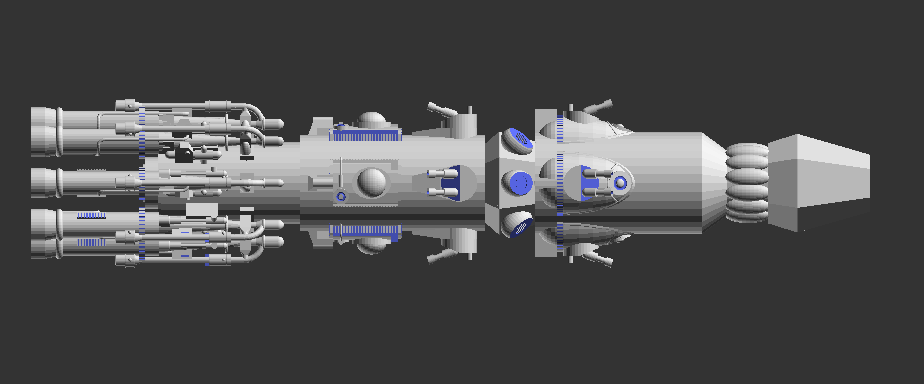
The gun turrets are the same as used in the Light Cruiser, but they are sitting on different base platforms. So while I could reuse the turret, I had to build the bases new for this miniature.
Adding the Trim
At that point I just started at the back of the ship and worked my way forward adding in all the little detail bits. When I got to the area between the gun emplacements, I would work one section at a time filling in the space between the turrets, rotating 90 degrees and repeating.
While there are some repeated elements across the ship and mostly on the bow or head of the vessel, almost all of the the little decorations on the surface are unique. So each one had to be measured with my calipers and reconstructed. In the end, that just wasn’t as fast (and there were a lot of details) as I had expected. When I hit the 12 hour mark, my original upper estimate, I was only up to the area between the upper guns and the model looked something like this. (I didn’t save an exact picture at the time.)
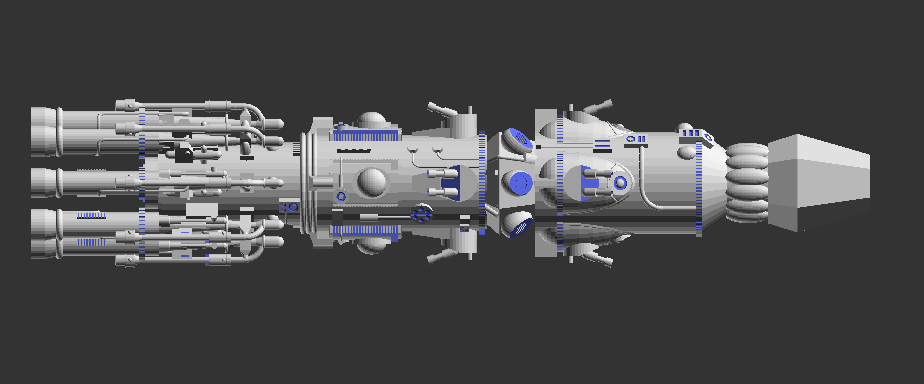
The details on the upper fuselage (right side in image) are only on the little bit you can see. Everything around the back side is still blank and the details between the gun turrets in the middle and bottom on this image are missing as well.
The one nice thing about filling in the details on the bow of the ship was that, unlike the light cruiser, which had irregular hexagons for the shape of the head, the battleship has a regular hexagon shape. That meant that the angles you had to tilt all the pieces were exactly the same on all the faces. That made lining things up much easier. Plus there are a number of repeated elements on the bow.
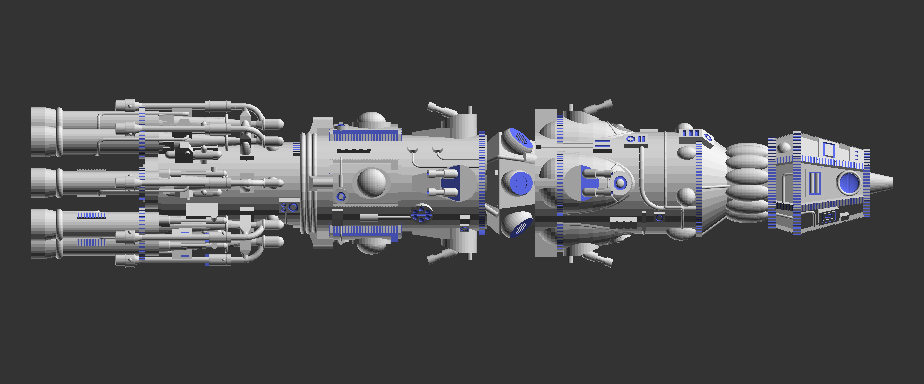
With that done, I added the cannon on the top and the model was finished. Here it is again in the same orientation as the previous two images.
Printing
As I learned from the light cruiser, these ships really need to be printed standing up. So that’s what I did. My biggest worry were the middle gun turrets. With the barrels facing down, each barrel was going to need it’s own support that would then need to be trimmed off. It turns out that those supports had to be added by hand as my printing software didn’t add them automatically.
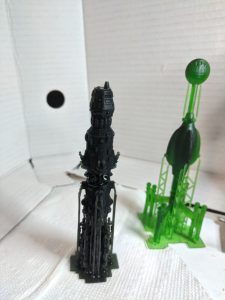
I had black resin in the printer at the time so that’s what I used to print this model. Unfortunately, the back resin doesn’t photograph as well as the green or grey. The image at the right shows the finished battleship model next to the Sathar Heavy Cruiser. Both still have their printing supports on. This was taken just after the battleship finished printing but I hadn’t cured it yet. The total print time was nearly 12 hours.
I also discovered after the fact that the vertical structures on back of the upper turrets that stick straight out need supports as well, which I didn’t add. They printed at an angle on the actual print. It looks fine, but isn’t what I had planned on.
I’m still amazed at the detail this printer can achieve. All of the details on the model show up in the print. Here the final printed miniature with all the supports removed.
And here it is next to the original metal miniature (minus the engines).
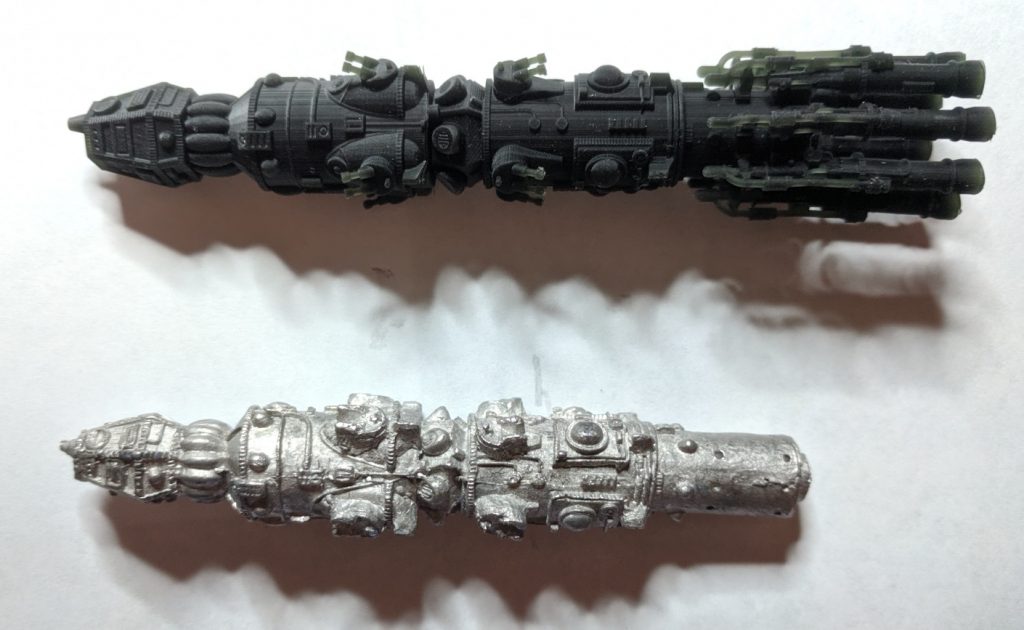
You can probably spot a few differences and there are a few more visible if you’re holding them, but I’m really pleased with the way this turned out.
Getting the Model Files
I’ve already added the UPF Battleship to my Miniatures Price Table page here on the site if you’d like me to print you one or more of them.
Additionally, as I’ve been posting these models, people have asked me about getting the model files. To that end, over the last few week I’ve been publishing all the STL files for printing the models on DriveThruRPG. You can find them in the 3D Models section of my New Frontier Games storefront.
All of the models that are recreations of the original TSR miniatures are free, pay-what-you-want products. Any of the the models that are my original creations are listed with a small cost. I’ve posted all of the models I’ve created to date on the site with the exception of the UPF and sathar fighter models, and two models I’ve made based on deck plans created by Bill Logan. Those will be going up shortly, I just haven’t had a chance to get them posted. All future models will be posted there as well.
If you are one of my Patreon supporters at the Surveyor ($2/month) level or higher, I send you all the model files as I create them. Or you can support the creation of new models by becoming a patron or making a donation through the pay-what-you-want option on the models listed on DriveThru. And if you are a Patreon supporter at the Crafter Level ($30/month), I will send you a printed version of the miniature. Anyone who joins at that level this month will get the battleship mini.
What’s Next?
Now that the UPF Battleship is done, I’ve finished recreating all the UPF and sathar ships from the original boxed sets. I still need to do the pirate frigate, the freighter from the Federation Ships box, and the privateers to get all the original minis recreated.
I’ll tackle those, but first I want to fill in the order of battle for the two main sides in the Second Sathar War game so that people could potentially play out that game with a full compliment of miniatures. As such I still need to do the UPF Heavy Cruiser, the UPF Minelayer (if you don’t use the cutter miniature), the assault carriers for both sides. Of those the easiest will be the UPF Heavy Cruiser as it will draw heavily from the design of the light cruiser and battleship. I’ve already started working on that model. It might even be finished before the end of the month. It’s much easier to make my own designs than trying to recreate existing ones. Plus I have a lot of little details structures already designed from the other ships that I can reuse.
After the heavy cruiser, I’ll tackle the assault carriers and then the minelayer before going back to finish the recreations.
And that’s it for now. Let me know if you have any suggestions, questions, or comments in the comment section below. I hope you enjoy the miniatures as much as I enjoy making them.
That Battleship looks amazing, a great update from the original.