This was a busy month in the Frontier. The sathar probe into the Theseus system is intercepted and destroyed by the militia. The lost K’aken-Kar assault scout finally finds its way home and Spacefleet starts to get serious about locating the sathar routes into the Frontier and their starship construction centers. The UPF suffers a major blow to its production capabilities as saboteurs nearly completely destroy the Hentz (Araks) starship construction center. Finally, the HSS History’s Hope misjumps into an unplanned system and makes what might be a major yazirian cultural discovery.
| Date (FY) | Events |
|---|---|
| 62.038 | Five fighters are completed at the CDC shipyards (Triad, Cassidine) and work begins on five more. Three of the fighters are immediately assigned to fill out FFC Squadron Eta while the other two are placed in storage. |
| 62.039 | The Second Battle of Theseus. The Theseus militia intercepts SFB-J2 and destroys, only suffering minimal damage. |
| 62.040 | – Jump calculations complete, the HSS History’s Hope begins the final accelerations and alignment for their next jump. – Deceleration complete, SBF-A2 begins accelerating for the return jump to OFS203. |
| 62.041 | – Deceleration complete and with still no sign of sathar presence in the OFS020 system, PG Probe Alpha begins acceleration for a return jump to the Fromeltar system. – The militia ships arrive back at Minotaur (Theseus) after the battle with the sathar and the damaged assault scout is immediately moved into the shipyard for repairs, bumping out a HS 5 ship undergoing maintenance. – SG Alpha jumps into the Prenglar system. A ship carrying the new fighter pilot graduates boosts to meet up with carrier as work begins on calculations for the jump to Athor. – A heavy cruiser is completed at SCC#5 (OFS19) and joins SBF-E2. The battle group, consisting of 2 C, 1 FF, 1 DD, 1 LC, & 2 HC depart for SCC#4 (OFS111). – Three assault scouts are completed at the PGC shipyards (Gran Quivera, Prenglar) and join TF Prenglar. The shipyard space is released by Spacefleet back for pubic ship maintenance work. |
| 62.042 | The HSS History’s Hope successfully jumps into the new system which they are designation YS13. They begin deceleration an jump calculations for the return trip to YS12. |
| 62.043 | SBF-A2 is detected in the outer reaches of the Gruna Garu system but is too far away to be identified and just recorded as an unidentified vessel. Due to the on-going conflict, it is reported immediately to Spacefleet. |
| 62.044 | Two fighters completed at the Minotaur (Theseus) shipyards and join those manned by the militia under the direction of FFC Squadron Epsilon. |
| 62.045 | – After 13 days, the astrogator on the K’aken-Kar assault scout establishes that they are in FS33, the original destination for their first misjump. They begin work on calculations to jump back to their home system. – SBF-A2 slips into the void but misjumps, overshooting its target and ending up in OFS198. – Given the reports from the Gruna Garu system of unidentified vessels in the outer system, Spacefleet orders SG Alpha to deliver the fighters waiting at Hentz (Araks) to the Gruna Garu system. |
| 62.046 | – PG Probe Alpha slips into the Void but misjumps and doesn’t end up in the Fromeltar system. However, their comm systems light up almost immediately and they realize they have overshot their target and ended up in the Dramune system. They immediately begin decelerating and plotting a return jump to Fromeltar. – SBF-A2 determines its location and begins plotting a jump back to OFS203.A light cruiser is completed at sathar SCC#4 (OFS111) |
| 62.047 | Starfleet puts out a Frontier-wide announcement looking for high level astrogators to participate in a high-paying, adventurous, but possibly dangerous classified project. |
| 62.048 | With CNE Group’s infrastructure rollout on Groth (Fromeltar) plagued by constant sabotage, the consortium brings in a large MercCo contingent as additional security and several investigative teams. |
| 62.049 | Despite the vagueness of the advertisement, Starfleet’s call for high level astrogators garners dozens of applicants in just two days. Screening of applicants begins immediately. |
| 62.050 | Three more pilots complete the accelerated training at Gollwin Academy. They are temporarily assigned to fighters at the Academy and start training with TF Prenglar while awaiting permanent assignment. |
| 62.051 | – The HSS History’s Hope misjumps and instead of ending up in YS12 are in an unknown system which they designate YS14. They begin immediately working on finding their position. – The K’aken-Kar militia assault scout begins accelerating for the jump back to its home system. – Four fighters are completed at the Hentz (Araks) shipyard and FFC Squadron Beta takes control of them and the other four fighters currently manned by the militia in preparation for the arrive of SG Alpha in a few days. – Two fighters are completed at the Minotaur (Theseus) shipyards and join the partial squadron manned by the militia under the command of FFC Squadron Epsilon. – SG Alpha jumps into the Araks system and begins deceleration towards Hentz to pick up the fighter stored there. |
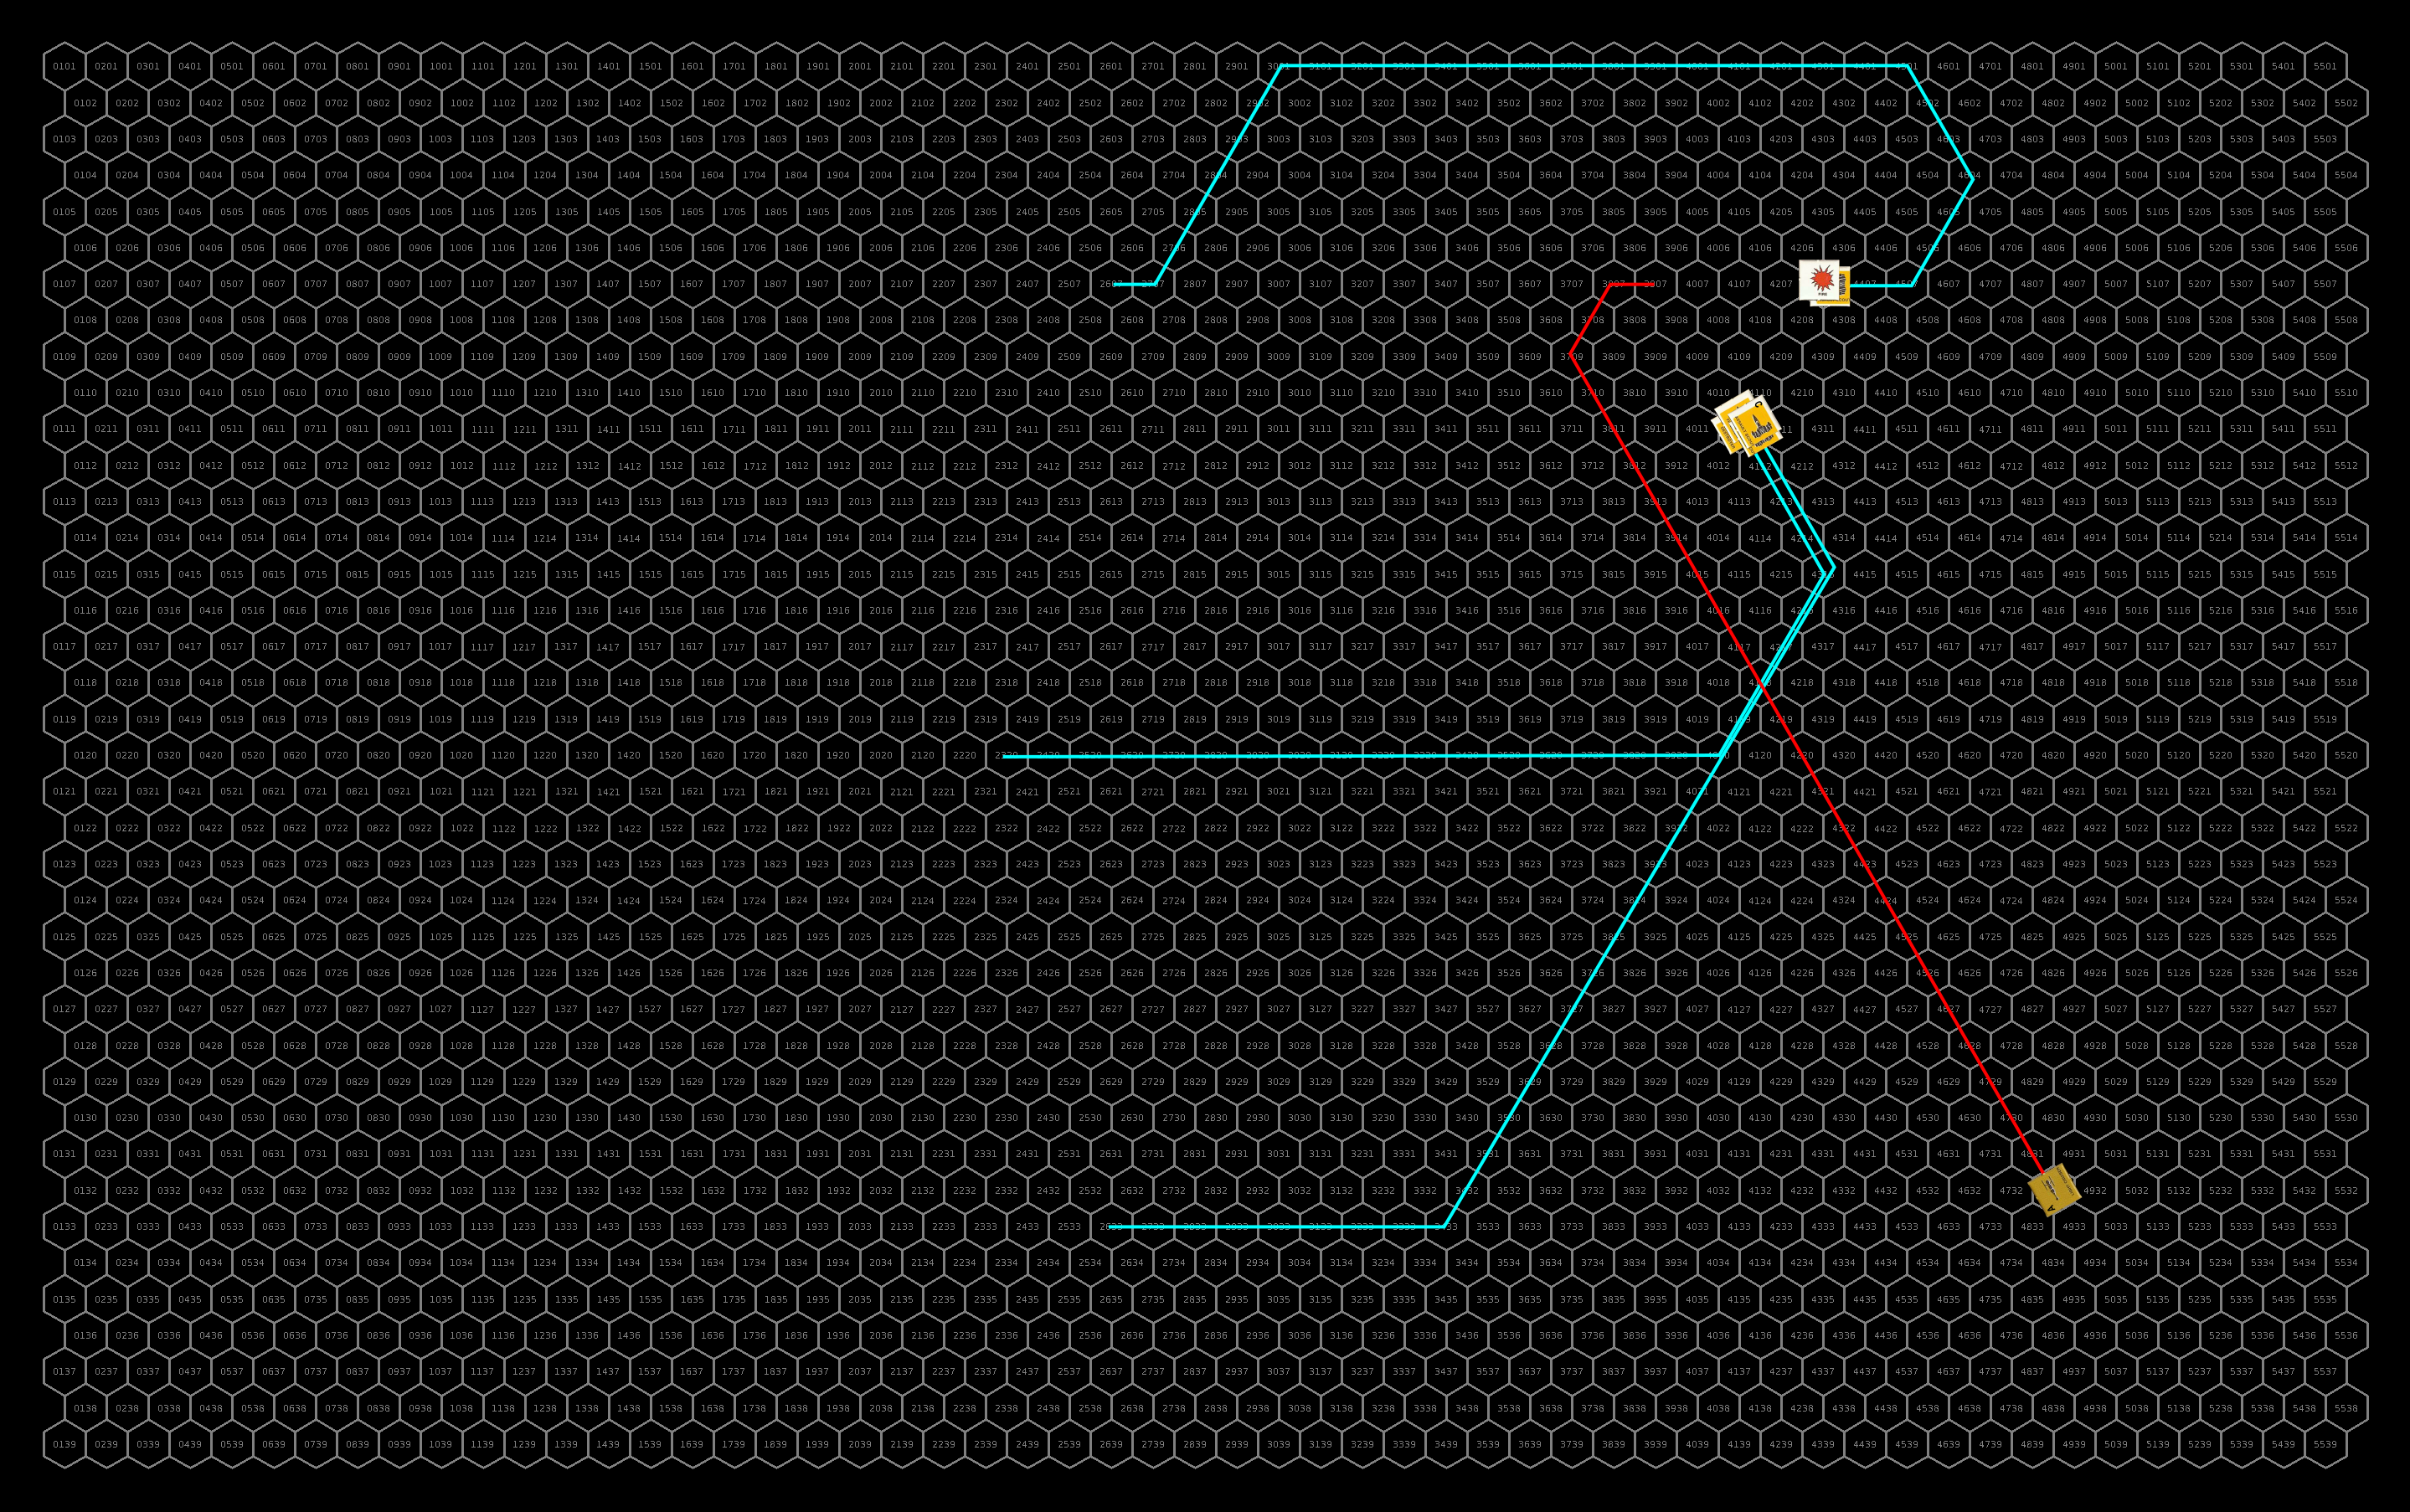
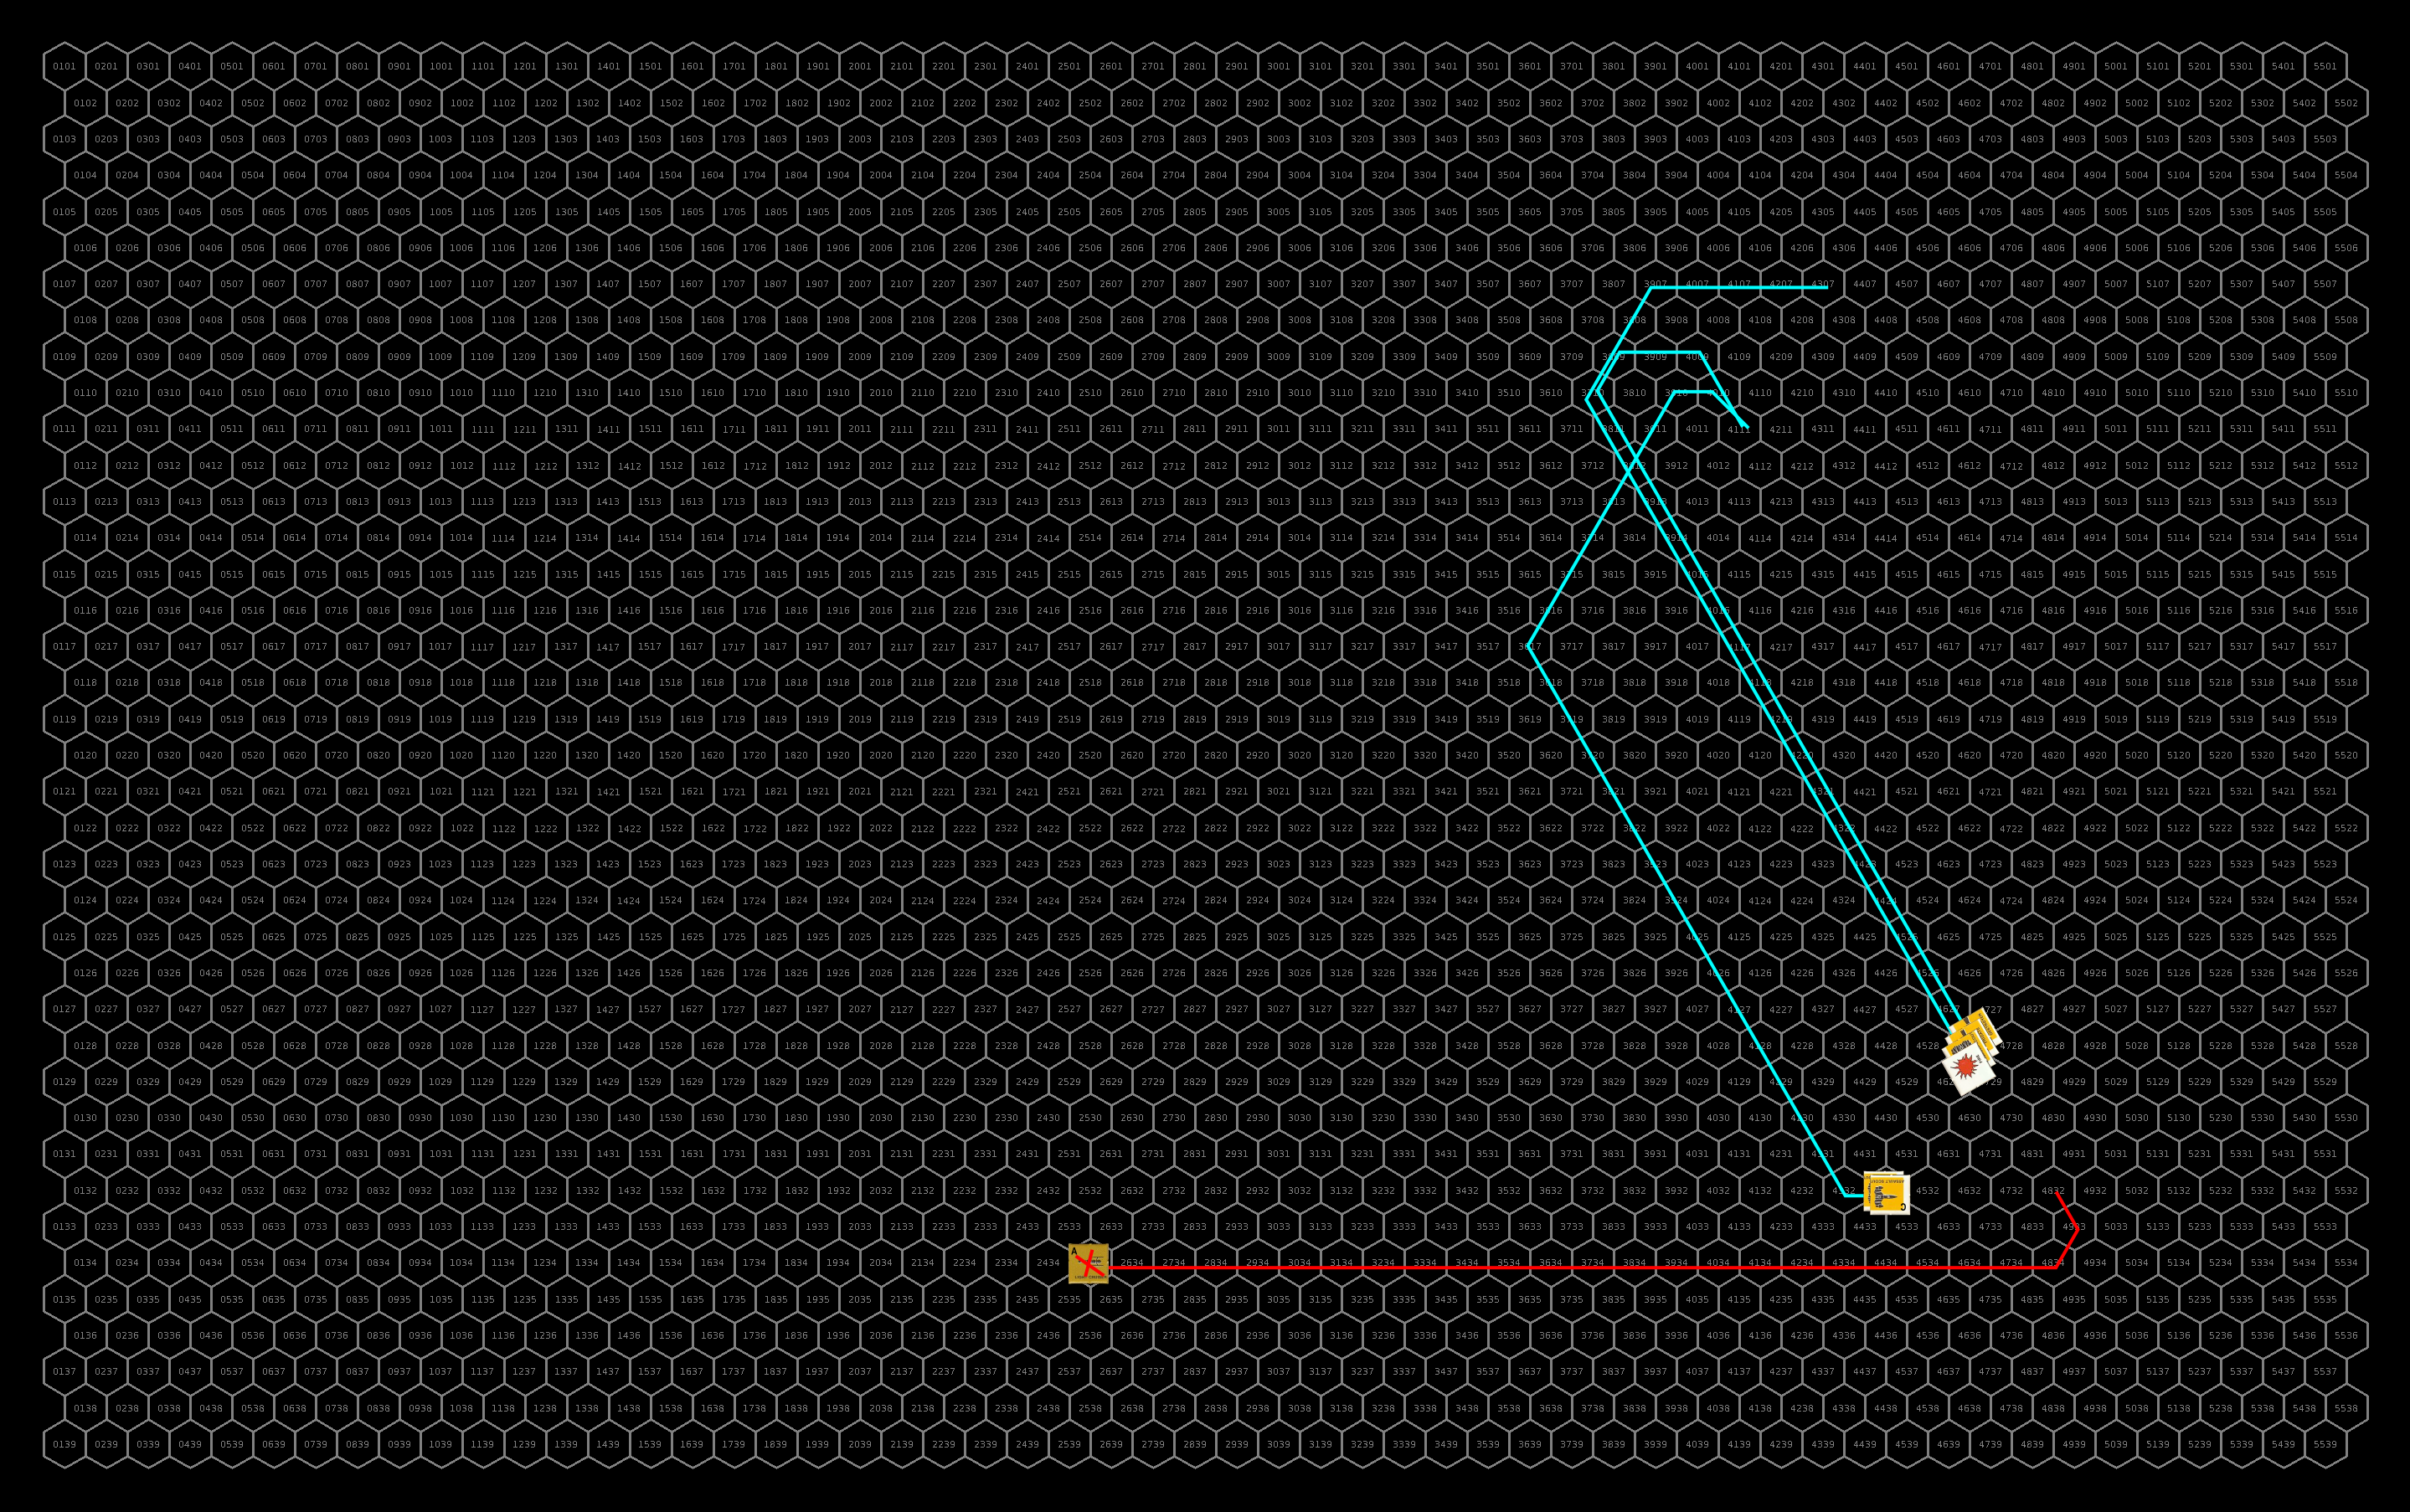
| 62.052 | Sathar agents succeed in sabotaging the Hentz (Araks) starship construction center almost completely destroying it. Pieces of the SCC rain down on the planet. All ships in the center, including 4 civilian vessels, 2 assault scouts, & 4 fighters are destroyed. It will be years before the facility is back to full capacity. |
| 62.053 | In wake of the near total loss of the Hentz (Araks) SCC, Star Law launches an investigation into the Family of One’s management of the facility and their security measures. Security is tightened at all other SCCs. |
| 62.054 | – Sathar fleet TG1 jumps into the OFS138 system containing sathar SCC#3. It is joined by the frigate and heavy cruiser there and continues on toward OFS020. – A destroyer is completed at sathar SCC#10 (OFS174). – A HS:5 ship completes maintenance at the Minotaur (Theseus) SCC and the militia uses the space to begin construction of another frigate. |
| 62.055 | – After a full assessment of the damage to the Hentz (Araks) SCC, it is determined that existing center is effectively a total loss (98% damaged) and the decision is made to build a completely new structure. The limited capacity of the surviving center is dedicated to that work. – SG Alpha arrives at the Hentz station and the eight pilots take control of their fighters and begin loading them onto the assault carrier for transport to Gruna Garu. |
| 62.056 | – The K’aken-Kar militia assault scout successfully jumps back into the K’aken-Kar system and begins decelerating toward home. All data from its travel are immediately transmitted to Spacefleet. – With the fighters loaded, SG Alpha departs for Gruna Garu. – The crew of the HSS History’s Hope detects a faint, intermittent radio signal emanating from somewhere in the YS14 system. While the astrogators continue to work on locating their position, other crew work on finding the source of the signal and understanding it. |
| 62.057 | – SBF-E2 arrives at SCC#4 (OFS111). The AC, LC, and 8 fighters are attached to the battle fleet and preparations are made for them to join TG1 in OFS020. – An assault scout is completed at the PGC shipyards (Gran Quivera, Prenglar) and joins TF Prenglar. |
| 62.058 | – A heavy cruiser is completed at sathar SCC#10 (OFS174). Together with the destroyer completed four days earlier, they are designated TG2, and immediately departs for SCC#1 (OFS203). – Three assault scouts are completed at the CDC shipyards (Triad, Cassidine). Designated Shuttle Group Beta, they depart immediately for Prenglar. – Five fighters are completed at the PGC shipyards (Gran Quivera, Prenglar) and are transferred to Gollwin Academy. |
| 62.059 | PG Probe Alpha arrives back at Terledrom (Fromeltar). Two high level astrogators from TF Cassidine are transferred to the ships of PG Probe Alpha and it sets out once again to OFS020 to try to chart the jump back. |
| 62.060 | – SBF-A2 successfully arrives back at sathar SCC#1 (OFS203). – The astrogators on the HSS History’s Hope identify their location as a system 9 light years from YS12 and begin plotting a jump back to the YS12 system. – A Spacefleet destroyer is completed at the Minotaur (Theseus) shipyards. It departs to joint PG Vigilant in the K’sta-Kar system. |
| 62.061 | – With the screening of the initial astrogator candidates complete, Spacefleet organizes three new patrol groups, Probe Beta, Gamma, & Delta, each consisting of two assault scouts (drawn from TF Prenglar) with a level six astrogator on board. – After a final briefing, the newly formed patrol groups are dispatched to try to discover the jump routes the sathar are using to enter the Frontier. |
| 62.062 | With more resources available now that their position has been determined, the crew of the HSS History’s Hope localizes the source of the mysterious signal to a planet in the inter system. It appears to be a FM radio signal and work begins on decoding it. |
| 62.063 | Security for CNE Group on Groth capture saboteurs attempting to disrupt their infrastructure rollout. As suspected the saboteurs were hired by the Groth Energy Corporation. |
| 62.064 | PG Probe Alpha jumps into the OFS020 system and immediately begins deceleration and jump calculations for the return to Fromeltar. |
| 62.065 | – Jump calculations complete, the HSS History’s Hope begins acceleration for the jump back to YS12. – SBF-E2 departs sathar SCC#4 (OFS111) for a jump into the OFS020 system to join up with TG1. – SG Alpha arrives at Hargut (Gruna Garu) delivering the fighters from Hentz which are formed into FFC Squadron Theta. The assault carrier departs to return to Prenglar. |
| 62.066 | – The crew of the HSS History’s Hope finally have a breakthrough on the signals from the inner system of YS14. To their surprise, it is a garbled mayday message in a very old Yazirian dialect. – The old yazirian mayday identifies the ship as the Yazirian Ark Ship (YAS) Royal Cloud. The HSS History’s Hope immediately aborts the jump back to YS12 and starts heading to the inner system. |
| 62.067 | – Now 500 days since hatching, the Eorna young are still growing and thriving. The problems seem to have been all with the rogue Eorna and a new batch of eggs are prepared for hatching and plans begin to accelerate the population growth program. – An assault scout is complete at the Outer Reach (Dramune) shipyard and departs for Morgaine’s World (Prenglar) to join TF Prenglar. – All attempts at communication with the YAS Royal Cloud by the crew of the HSS History’s Hope receive no response. |
| 62.068 | – SG Beta arrives at Gollwin Academy and joins up with TF Prenglar, replacing several of the assault scouts that departed as part of the new patrol groups. – The replacement destroyer for the Inner Reach (Dramune) militia is completed at the Outer Reach shipyards and departs across the system to Inner Reach. Outer Reach begins construction of a destroyer for themselves. – Five more fighters and an assault scout are completed at the CDC (Cassidine, Triad) shipyards. The fighters are temporarily attached to FCC Squadron Eta while the assault scouts depart to join PG Vigilant. |
You can download the full timeline file here: